
SEO
Performance
Sep 3, 2025
How to connect a custom domain: Tips and tricks
Learn how to easily connect a personal domain and publish your website instantly with Framer. Add a custom domain and manage it effortlessly through DNS settings.

Uploaded by

Translated by
Contents
Table of Contents
This document has been translated from the official Framer blog and supplemented with practical information to help Korean users who struggle due to a lack of resources. We hope it provides a bit of assistance to you using Framer.
Publishing Your Project
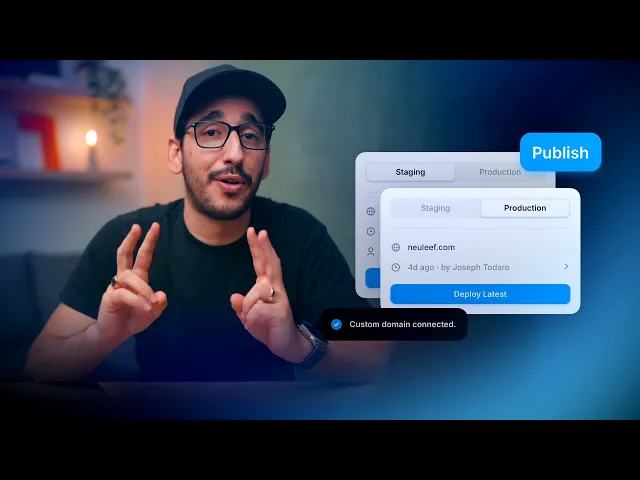
To make your website accessible online, you need to publish your project. Click the Publish button located in the top right corner to start hosting your site. Once publishing is complete, you can check the URL in the Publish sheet. If there are any changes to your project, you can click the Update button to re-publish.

Adding a Free Custom Domain
By default, your website is hosted on a Framer subdomain, and this address cannot be customized directly. However, you can add a custom domain using one of the following options.
Add a free Framer subdomain
Connect a domain you own
The first option is free, and Framer automatically configures DNS settings for you. Your new domain will be active within seconds. You just need to enter the URL and choose one among framer.website, framer.photos, framer.media, framer.wiki, then submit.
Adding Your Own Domain
To publish your Framer website using a custom domain purchased from a web hosting service, follow these steps:
Purchase a domain from a provider like Cloudflare or GoDaddy.
Go to the “Domains” page in Site Settings and select “Connect a domain you own.”
Enter your domain, then add the DNS records provided by Framer to your domain provider's DNS settings.
Most domain registrars offer a separate DNS management panel. Typically, you can find DNS Records under Domain Settings. Below is a guide for major registrars.
Gandi: A Record and CNAME
Cloudflare: A Record and CNAME
Porkbun: A Record and CNAME
Domain Configuration
To set up a naked or apex domain (e.g., example.com), you need to configure two A Records and one CNAME in your DNS settings.
Note: Naked or apex domains refer to those without a prefix like www.
A Record: Use the fixed IPv4 address provided by Framer
CNAME Record: Used for redirecting to the “www” version of your domain
You can also find the necessary records for your Framer website in the Domains tab of your project settings.
Name | Type | Value |
|---|---|---|
@ | A | 31.43.160.6 |
@ | A | 31.43.161.6 |
www | CNAME | sites.framer.app |
Ensure there are no other A Records or AAAA Records set for your domain, as they might conflict with Framer settings.
Subdomain Configuration
To set up a subdomain (e.g., subdomain.example.com), create a CNAME record in your DNS settings. Some DNS providers may require a trailing dot (e.g., sites.framer.app.). Depending on the provider, either enter the full subdomain or just the subdomain part.
Name | Type | Value |
|---|---|---|
subdomain.example.com | CNAME | sites.framer.app |
Verifying Changes
DNS changes can take up to 48 hours to propagate globally, but they generally take effect more quickly. Once your domain is connected, you can access the website via the new domain.
If issues persist, please contact Framer support.
This post is a translated and adapted version of Framer's official blog entry ‘How to connect a custom domain’.

