Get Started
Oct 22, 2025
Creating and Handover of Client Sites in Framer
Here's how to easily build and hand off client sites using Framer. Invite your client for a design review, then use the Remix link to duplicate the site under their ownership.

Uploaded by

Translated by

Contents
Table of Contents
This document is aimed at resolving the difficulties Korean users face in learning Framer due to the lack of resources in Korean. We've translated content from the official blog into Korean and added practical information. We hope this is of some help to you using Framer.
1. Building Client Sites from Your Account
When creating a client site from your Framer account, it is recommended to design and develop the site within your account.
During the project, you can invite the client as a Viewer (free) to approve or review the design. If the client wants to directly edit some content or replace images, invite them as an Editor.
2. Delivering the Completed Website to the Client
Once the site is approved, the next step is handover. The simplest way is to create and share a Remix link.
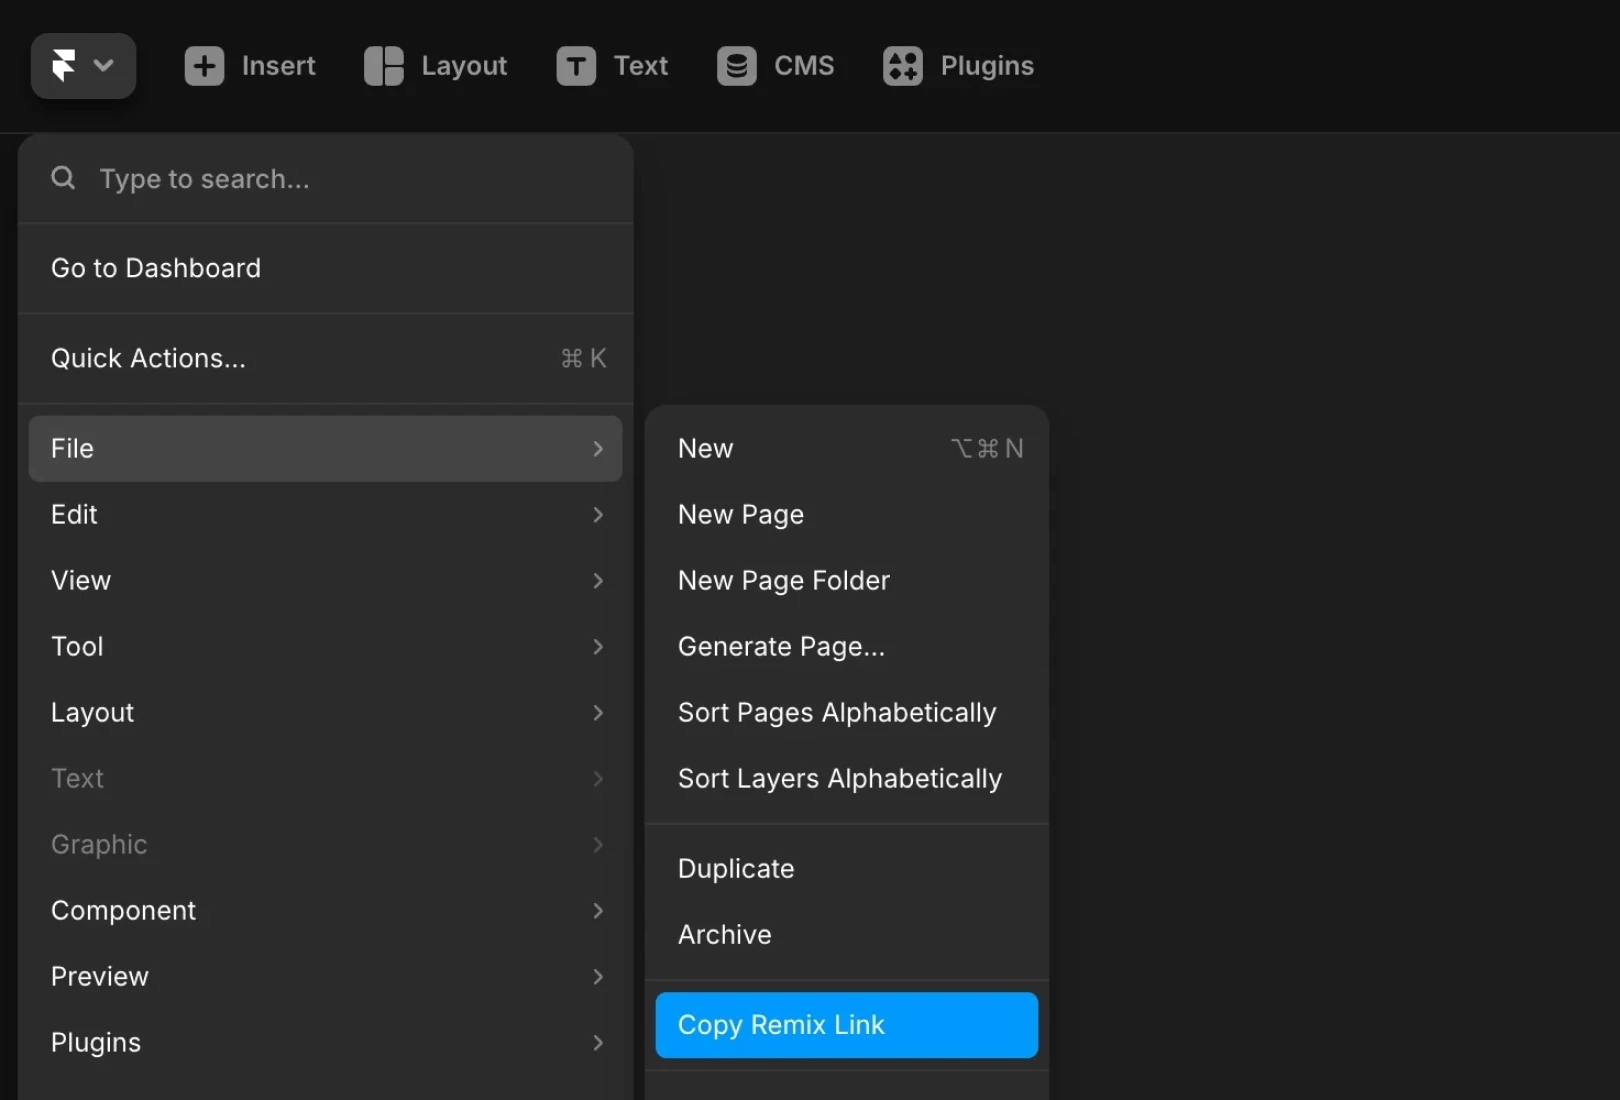
In the project menu, click File and then Copy Remix Link to generate a link you can send to the client.
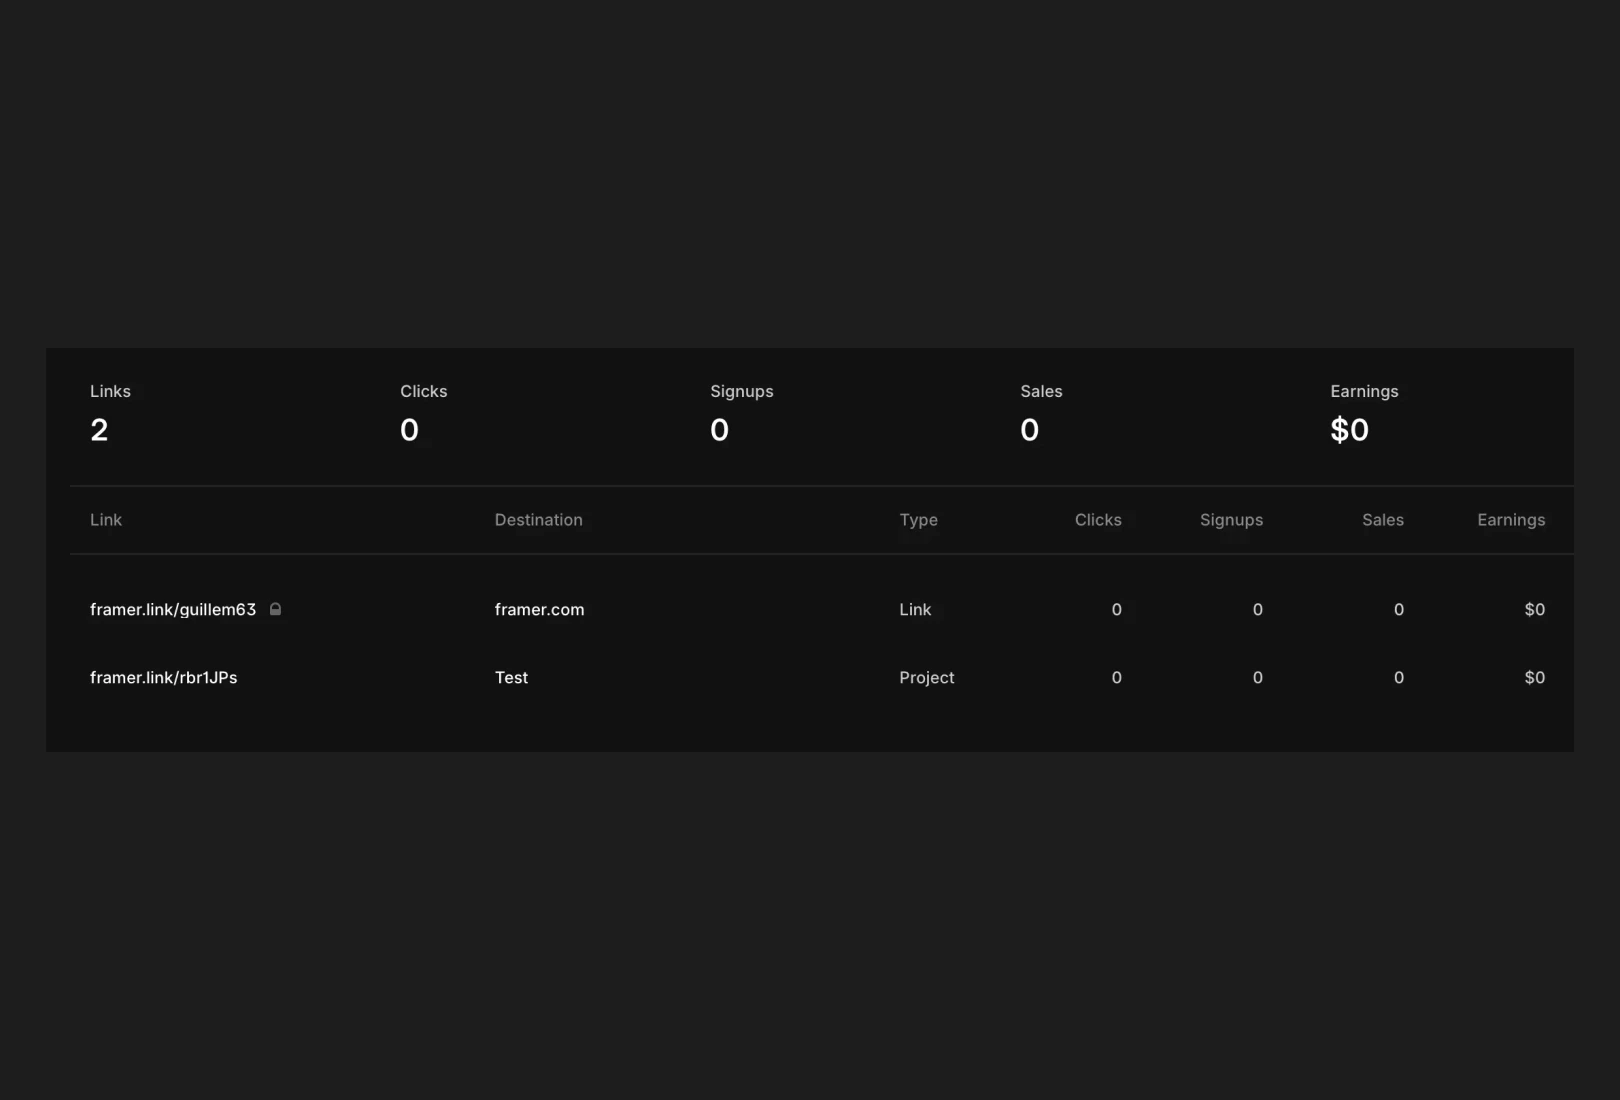
If you are registered as a Framer Verified Creator, the project will automatically appear as Type: Project in the Creator Dashboard under the Links tab.
3. Client Ownership and Management of the Project
When the client opens the Remix link, they'll be prompted to copy it to their Framer account. This process creates a duplicate under the client’s ownership.
Next steps for the client are:
Add Site Plan: Select a plan in the project settings.
Connect a Domain: To use a custom domain, go to
Settings → Domainand connect it.Publish the Site: Click the gear icon at the top right and select
Publishto deploy the site.
Finally, if maintenance or final edits are needed, the client can invite you back as an Editor for collaboration.
If any issues persist, please contact us through the contact page for additional support.
This article is an adapted translation of Framer's official blog post ‘How to build and handover sites to clients’.

