
Design
Get Started
Aug 22, 2025
Create stunning scroll effects like Apple in Framer
In this article, we'll cover how to create the popular scaling scroll effect seen on apple.com. As you scroll, a full-screen video transitions into a slideshow, and the entire process is done in Framer without any code.

Uploaded by

Translated by
Contents
Table of Contents
This document aims to ease the difficulties faced by local users learning Framer due to a lack of Korean resources. We have translated content from the official blog into Korean and included practical information. We hope it provides some help to those using Framer.
In this tutorial, we will explore how to create an impressive scroll effect using Framer. This effect has been consistently requested by the Framer community and is commonly seen on popular sites like Apple. A great example is the Apple TV Plus page, where as you scroll, one section gradually shrinks and transforms into a slideshow, clearly demonstrating the flow.
Subscribe to our YouTube channel
Preparing the Demo
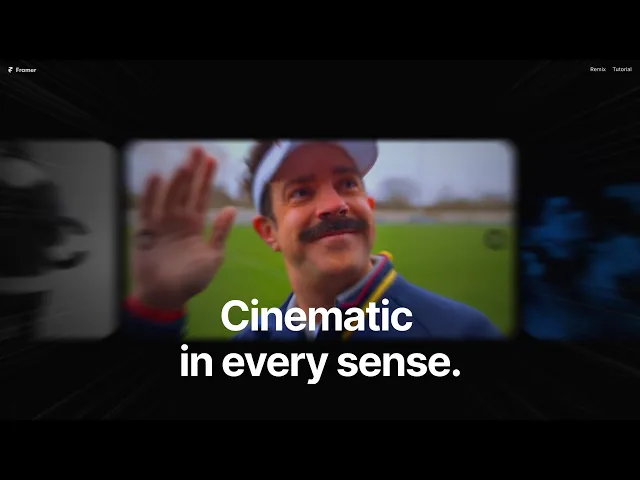
For this tutorial, we've prepared a demo using video instead of images to achieve the same effect. As you scroll down, the video gradually shrinks and switches to a slideshow, seamlessly transitioning to the next section once the scaling part ends. After clicking on the next item in the slideshow and scrolling back up, the video enlarges back to its original state.
Starting with Framer
First, open your Framer project and create a scroll section that is sufficiently long. In our example, we set the height to about 2800px, but feel free to adjust it according to your page rhythm and content length. The height of this section determines how far the video will scroll before the scale reduces.
Next, draw another frame inside the scroll section, and set its size to Width: 100%, Height: 100vh. Rename this frame to ‘slideshow container’ and set Position: Sticky so it stays fixed at the top as you scroll down the page. Finally, enable the Layout option for the frame and leave the defaults as they are to maintain stable placement.
Adding the Slideshow
Now, go to the Insert menu under the Interactive section to drag a slideshow into your project. Set the slideshow's size to Height: 100%, and adjust Width: to approximately 1900px to match the video aspect ratio. Enable Lock Aspect Ratio to prevent distortion, and don't forget to specify Min-width: 110% to always fill the screen width. Then, use the multiplane connector to link videos to the slideshow. It's time to apply the scroll transform effect. With the slideshow selected, navigate to the Effects panel and add a Scroll Transform, setting the basis to Section in View and targeting the video section created before.
Refining the Slideshow
Refine the slideshow properties to fit your project. For example, setting the Interval to 5 seconds allows the video to remain longer on the screen for a more stable viewing experience. In this case, disable the lower dot indicator Dots, and set the slide gap to about 50px for clearer transition stages. Increase the arrow sizes slightly for better navigability.
To ensure partial visibility of other videos at the edges, set Clipping > Overflow: Show. Also, add a Scroll Transform to the text layer so that the Opacity gradually decreases with scroll, naturally directing the viewer's gaze to the video and slideshow transitions, enhancing the overall flow.
Adding a Ticker Component
To enhance the impact of the next section, add a Ticker component from Insert > Interactive. Duplicate this Ticker to make three lines, linking each line to an image. Adjust the Gap and Speed values as needed, and assign each line a different Direction for left and right scroll directions. This rhythm adds life to the section following the transition.
Final Outcome
Now, as you scroll, the screen smoothly shrinks and transitions into a slideshow. The final result will give you a feel similar to the presentation seen on the Apple website.
This article is a translated and adapted version of Framer's official blog post ‘Creating a cool scrolling effect like Apple with Framer’.

