Design
Insights
Aug 26, 2025
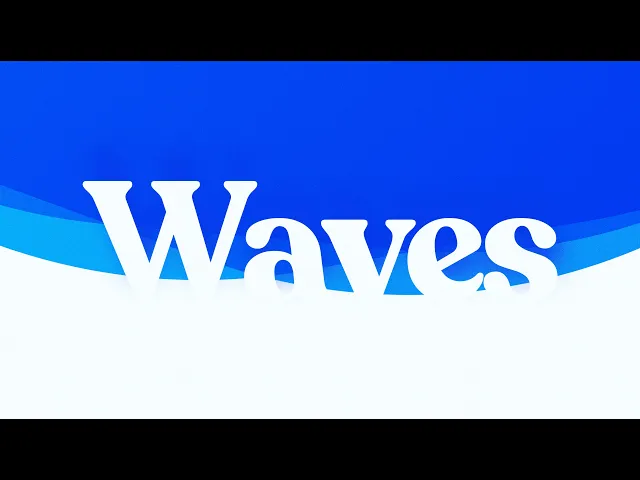
Create a wave animation with just 3 layers in Framer
In Framer, you can create impressive wave animations with just 3 layers and no code. Learn how to draw a frame into a circle and connect nested layers with rotation animations to naturally simulate ocean waves.

Uploaded by

Translated by
Contents
Table of Contents
This document aims to alleviate the difficulties faced by domestic users learning Framer due to a lack of Korean resources by translating the official blog content into Korean and adding useful practical information. We hope it offers some help to those of you using Framer.
Getting Started
The first thing you need to do to create a wave effect in Framer is drawing a frame. Press the F key to open the Frame tool, then place the frame at your desired size. The frame size is not particularly important for this effect.
Next, set a Linear fill for the frame. Select the frame, then choose Linear in the Fill section of the Properties panel, and set the colors to #09F and #0DF. This will apply a refreshing gradient.
Finally, you need to round the corners of the frame. Set the Radius to 40% to create a ‘Squircle’ shape, which is almost circular, providing the basic form suitable for wave animation.
Creating Layers
The wave effect consists of three layers in total.
First, change the frame's position to Absolute. You can do this by selecting Absolute in the Position section of the Properties panel. Then, enlarge the layer to 4000 pixels in both width and height to prominently display the wave effect.
Next, duplicate this layer twice to prepare a total of three layers. (Use the Command + D shortcut) Now, you can see the three layers lined up in the Layers panel.
Finally, apply the Multiply blending mode to these three layers to mix them naturally. Choose Multiply in the Style panel, which will merge the layers to reveal the overlapping wave-like effect.
Adding Animation
Let's now bring movement to the layers.
Select all three layers and apply the Loop animation from the Effects section of the Properties panel. The layers rotate 360 degrees by default; setting this transformation to a Linear curve ensures a steady speed, providing a sense of waves flowing smoothly without interruption.
Another crucial setting is Pinning. Select all three layers and unpin the left, right, and bottom to maintain the wave position even when the page size changes.
Adding Appear Effect
Add an entrance animation to create a more dynamic scene.
Select the wave container and apply the Appear effect. Set Opacity to 1 and Y value to -400, making the waves appear to descend from the top of the screen. Specify the transition as Ease Out, and set the duration to 5 seconds for a smooth starting effect as the waves appear.
Experimenting with Styles
The biggest advantage of wave animation is its endless possibilities for transformation.
For example, changing or flipping the layer's colors creates waves with a completely different atmosphere. Additionally, placing the waves at the bottom instead of the top can utilize them as a footer background for the page.
The wave effect is not just a simple ornament but a powerful expression tool that designers can freely transform to suit the brand tone.
This article is an adaptation and translation of Framer’s official blog content titled ‘Create a stunning wave animation in Framer with just three layers and zero code’.


