Read Time
min
Insights
Oct 17, 2025
Adding a Scroll-to-Top Button in Framer
Adding a 'Scroll to Top' button in Framer can enhance user experience when navigating long pages. You can easily implement this by adding the button, setting up the scroll section, and connecting the button.


Contents
Table of Contents
Role of the Scroll-to-Top Button
When navigating a long page, users often need to return to the top. To improve the experience on your website, provide a 'scroll-to-top' button instead of requiring manual scrolling.
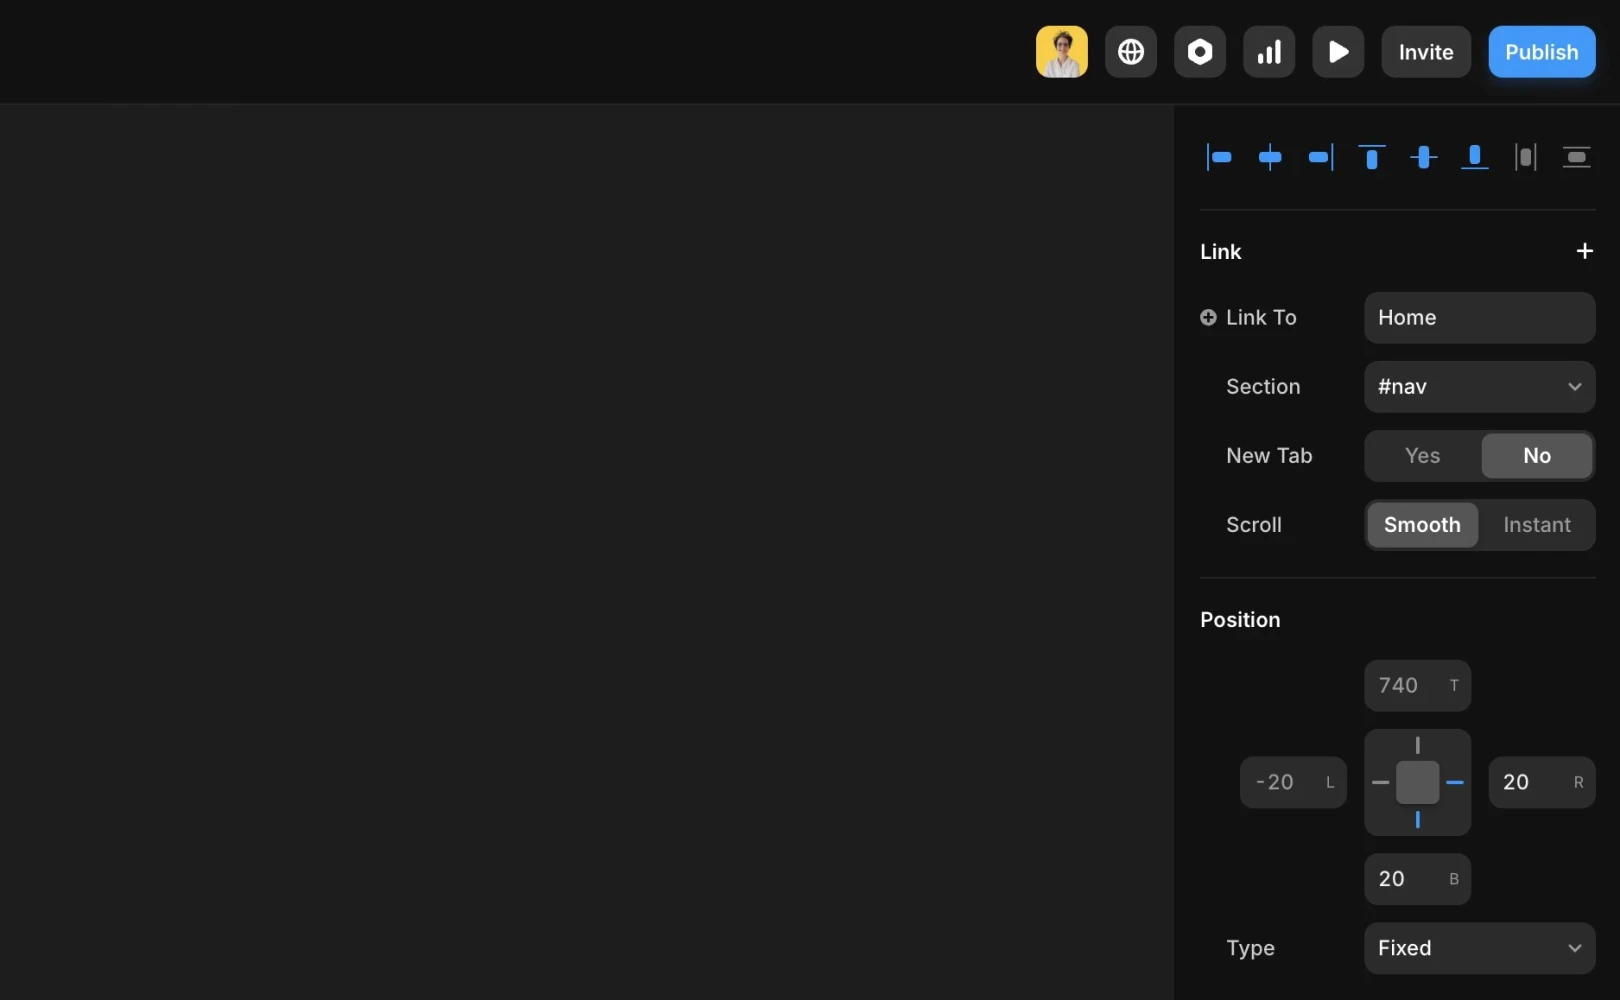
1. Adding the Button
First, place an icon or button layer where you want it. (In this example, a button fixed at the bottom right of the screen is used.)
Select the button, and under the
Positionsettings, chooseFixedSimilarly, choose the location you want to fix under the Position settings
(In this example, the values forBottomandRightare specified to fix it at the bottom right of the screen.)
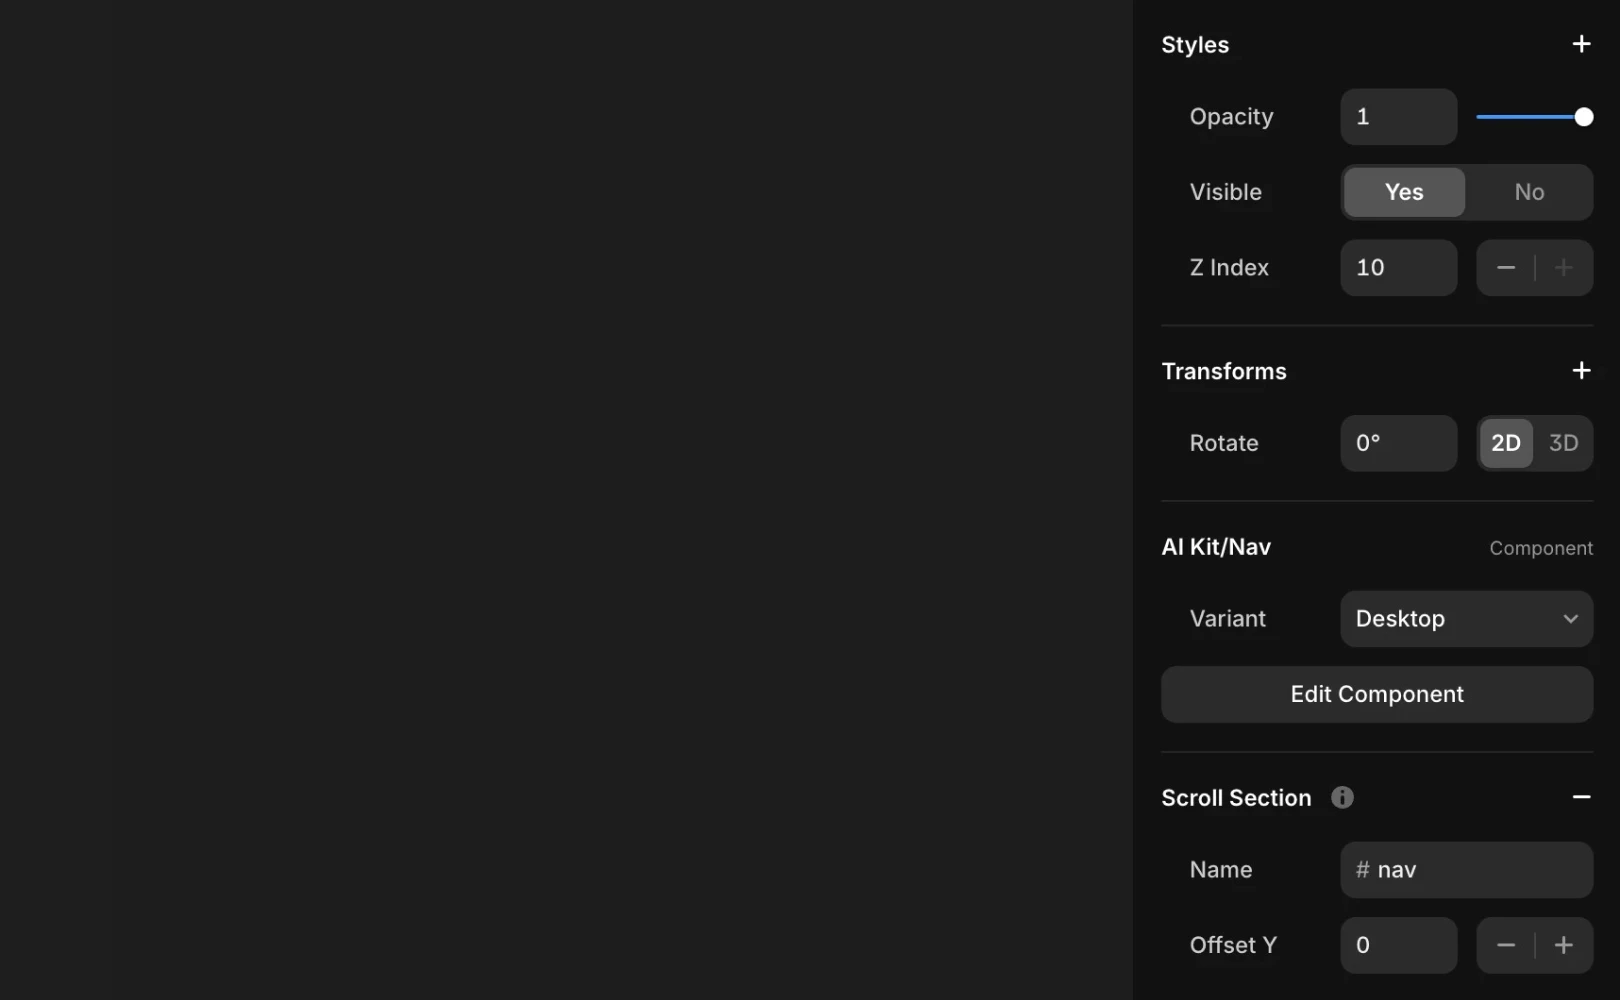
2. Creating a Scroll Section
Now set the target point to which the button will scroll.
Select the navigation bar (the top area of the page)
Click the
+icon next toScroll Sectionin the right panel and name the section
(In this example, the section is named #nev)
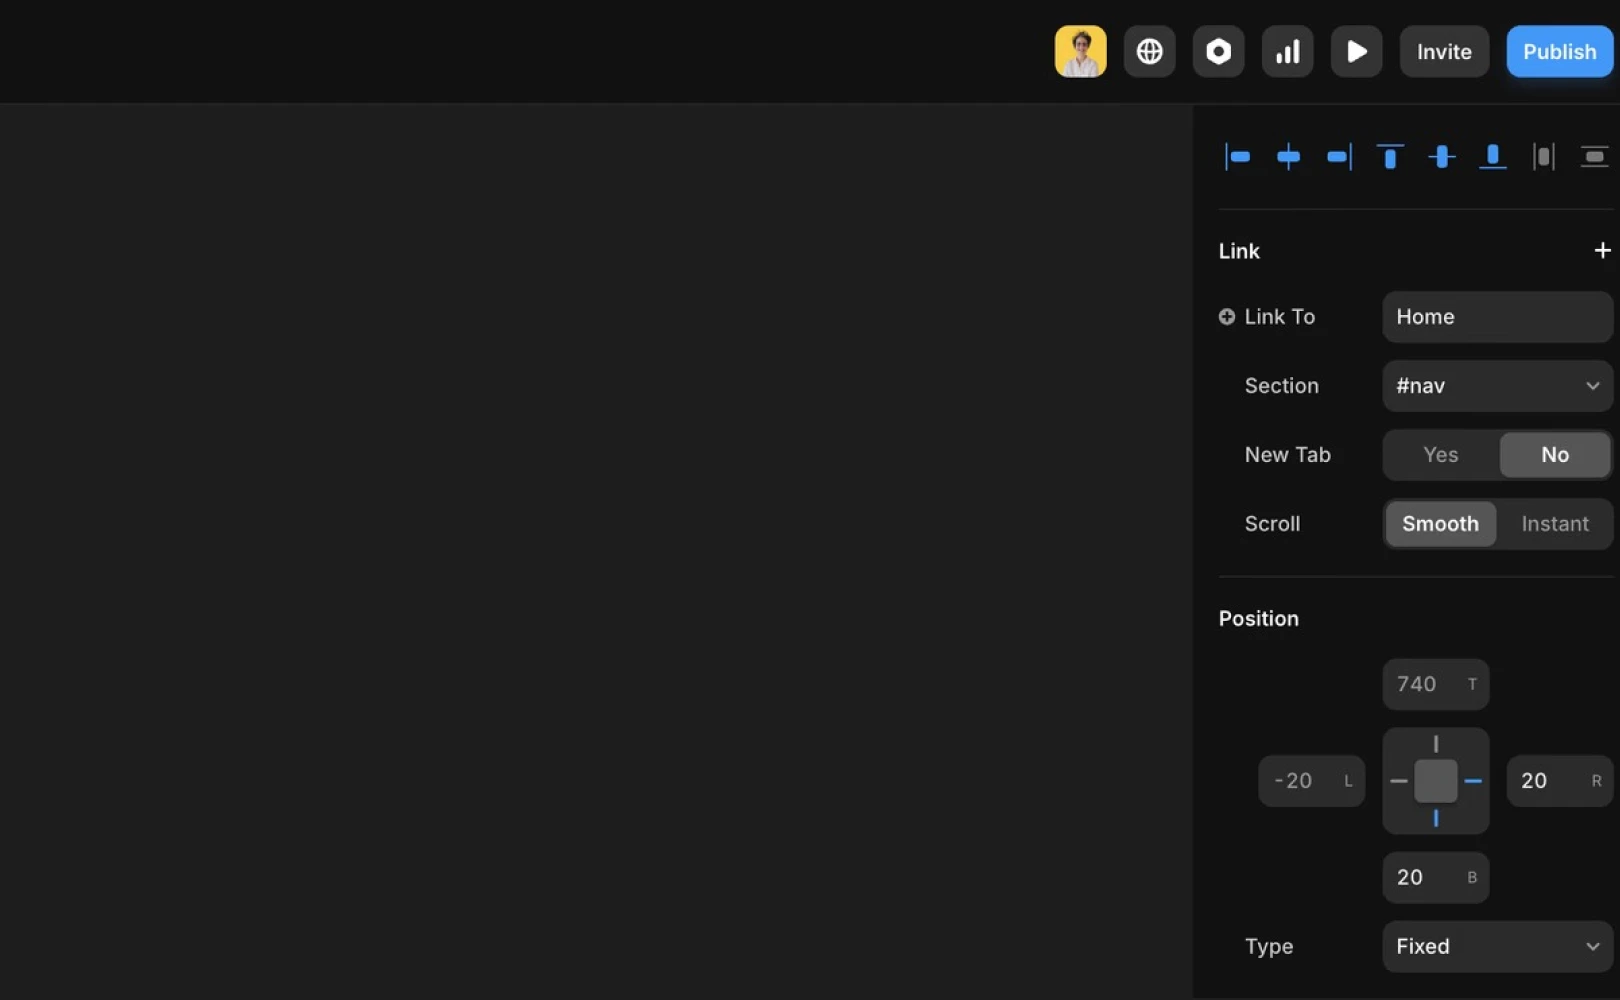
3. Linking the Button
Now set up the button to link with the scroll section.
Select the button
Click the
+icon next toLinkin the right panelSelect the page and the section created earlier to complete the linking.
Finishing Up
As a hands-on example, it is recommended to Remix this project and practice.
If any issues occur, please contact us through the Framer Support Page for additional assistance.
This article adapts and translates content from Framer's official blog, 'How to add a scroll-to-top button to your website'.
More posts


