Read Time
min
Get Started
Jul 25, 2025
Understanding Frames: Core Principles of Framer
The basic unit in Framer, the Frame, is a core element that holds content and forms structures, allowing for flexible design by understanding hierarchy during layout planning.


Contents
Table of Contents
How is a website's layout structured?
No matter how elaborate the design or complex the UI, upon closer inspection, you'll find that it is ultimately made up of rectangles. In Framer, these rectangles are called Frames, and nearly all elements are created based on a Frame.
In this article, we'll closely examine what exactly a Frame is as a core unit in Framer, and how it’s practically used.
What is a Frame?
In Framer, a Frame is the basic container for holding content and serves as the core unit for structuring and aligning layouts. A frame can 'contain' other elements, allowing you to create hierarchical structures.
There are terms you will frequently encounter when handling frames. If you have experience with Figma or web development, these concepts might feel familiar. Understanding this hierarchy in Framer is essential for layout design, so it's good to learn them in advance to avoid confusion.
Nested: The state where a layer is inside a frame
Child: A layer within a frame (child)
Parent: The frame enclosing a layer (parent)
Siblings: Layers under the same parent frame (siblings)
The Role of a Frame
In Framer, a Frame does more than just 'wrap' elements; it plays various roles.
Groups or aligns elements
Automatically generates Stack or Grid structures
Provides flexible sizing and positioning
Sets visual styles such as background, shadow, border
Or simply used to draw rectangles
For instance, in the Insert panel's 'Feature section', Frames are used as follows.
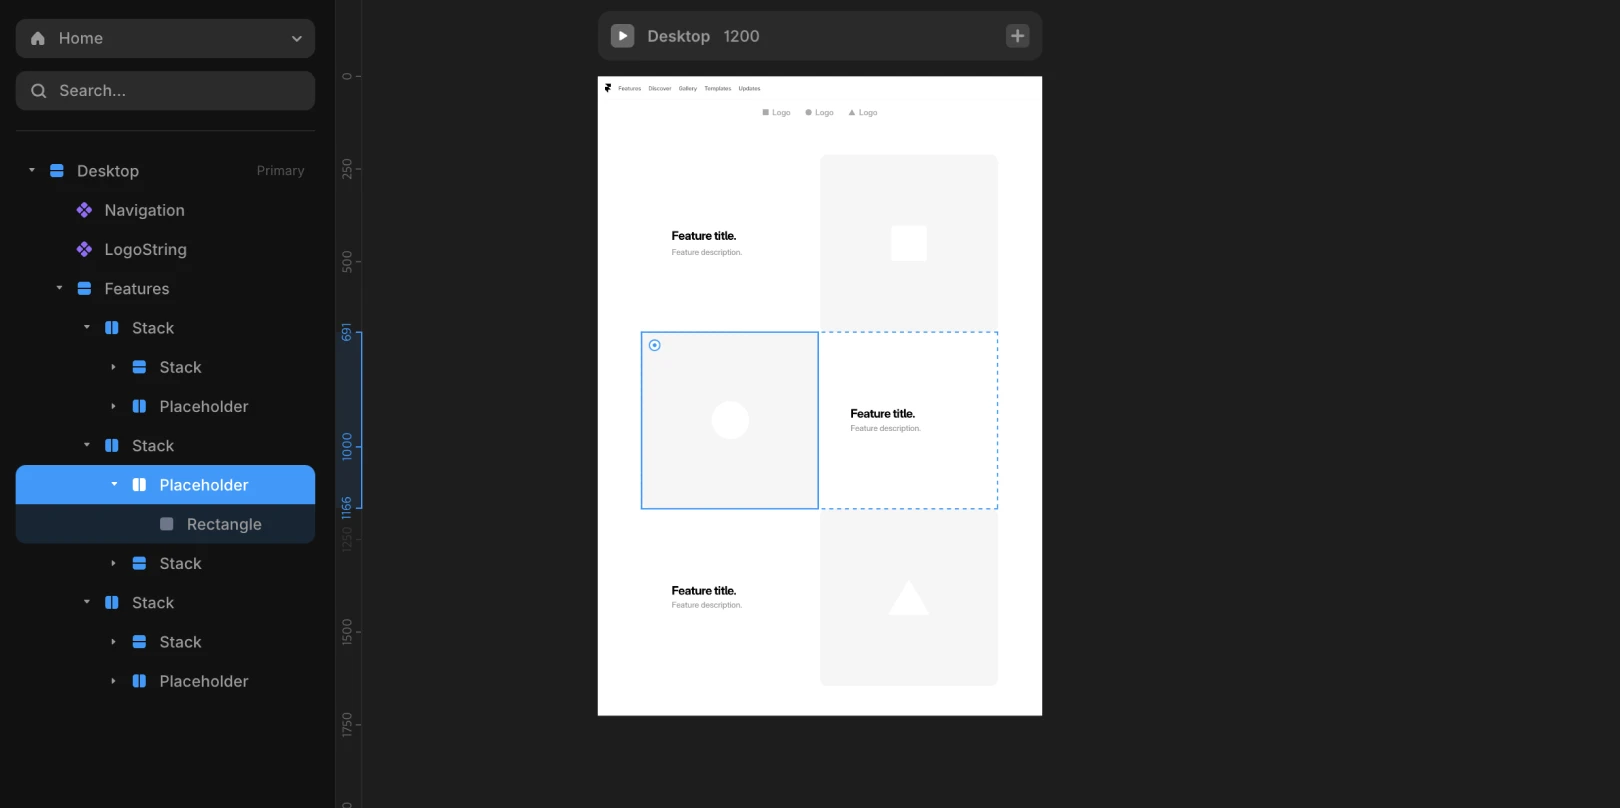
Entire area → large Frame
Each Feature → individual Frame
Image → image Frame
Text → text Frame
Button → button Frame
Knowing that all components are made of Frames helps you easily analyze and understand any structure within a Frame unit.
Frames Might Not Always Be Visible
Some frames may look like visually styled rectangles,
while others may be completely transparent containers.
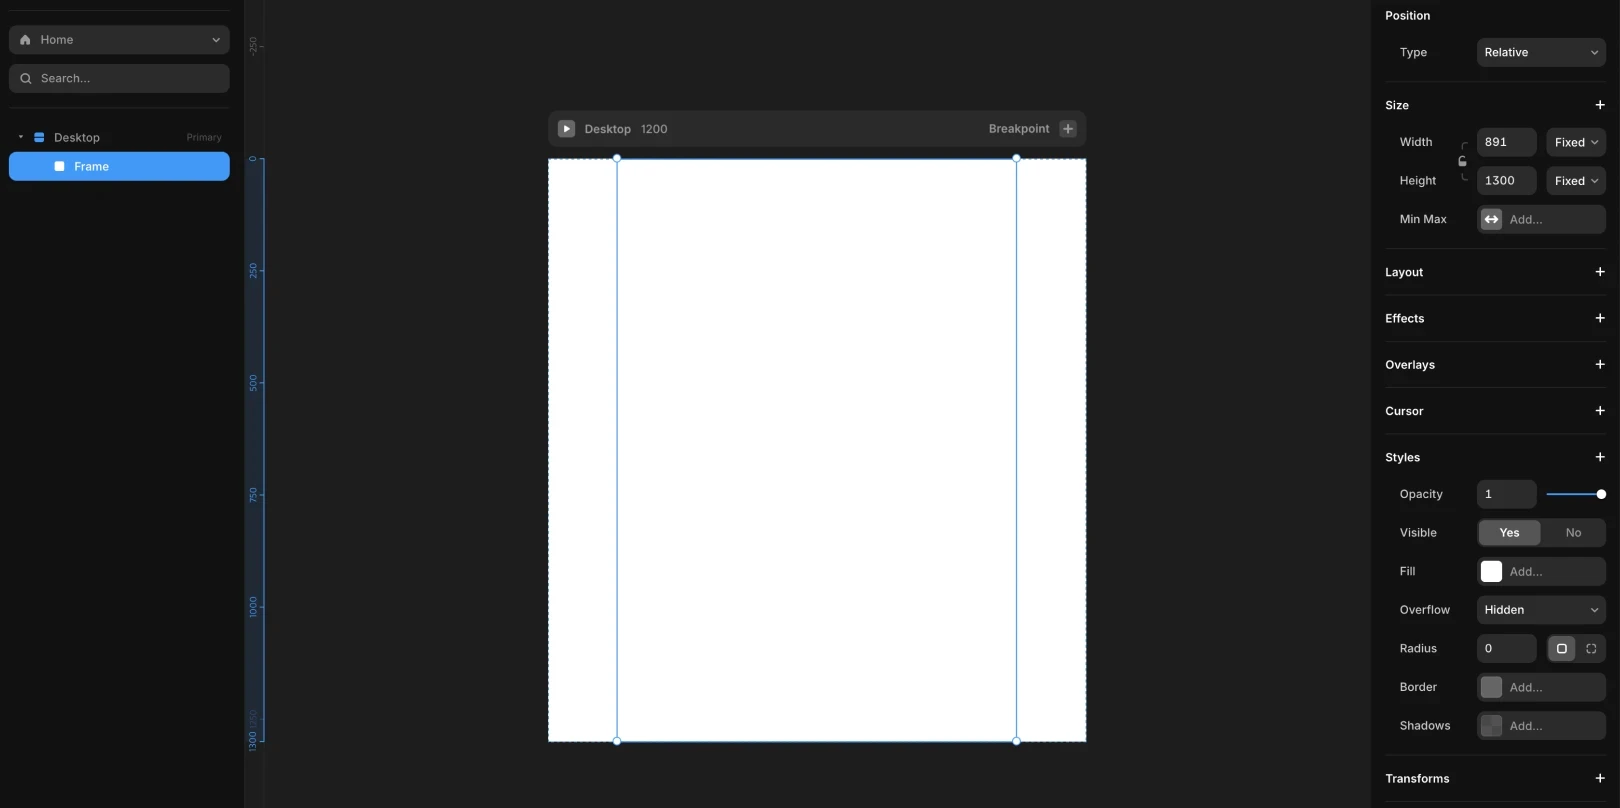
Note: Various effects like the border, background color, shadow, and transformations of a Frame can be set from the properties panel on the right.
How to Create Frames
Select the Frame tool from the Layout menu in the top toolbar
Or press the F key to switch to the Frame tool
Click and drag on the canvas to create a frame at the desired position
Note: Initially, draw with approximate dimensions, and it's common to adjust the precise size or position in the properties panel on the right.
Shortcuts for Use During Dragging
Shift → Draw a square
Alt / Option → Draw outward from the center
Space → Move position while dragging
How to Nest Elements in a Frame
Simply drag and drop any layer into a frame to automatically make it a child element.
A blue outline will appear around the frame to indicate success.
This feature is called Auto Nesting.
If you want to prevent Nesting, drag while holding the Spacebar.
Wrapping Existing Elements with a Frame
When you want to wrap multiple existing elements into one frame, do the following.
Select the layers you want to wrap
Right-click > select ‘Add Frame’
Or Cmd + Enter (Mac) / Ctrl + Enter (Windows)
A new parent frame containing the selected elements is created.
If you want to delete a frame and leave only the internal children?
Mac: Cmd + Delete
Windows: Ctrl + Delete
Press the following.
Conclusion
In summary, here's what we've covered.
In Framer, almost everything is made up of Frames.
Frame is not only a rectangle wrapping content but also the key unit that handles both style and structure.
Understanding the hierarchy (Nesting) and the parent-child concept makes it easy to design complex layouts.
This article is adapted and translated based on Framer's official YouTube content 'Thinking in Frames (Fundamentals Lesson 4)'.
More posts


