

Read Time
0
min
SEO
Performance
Sep 3, 2025
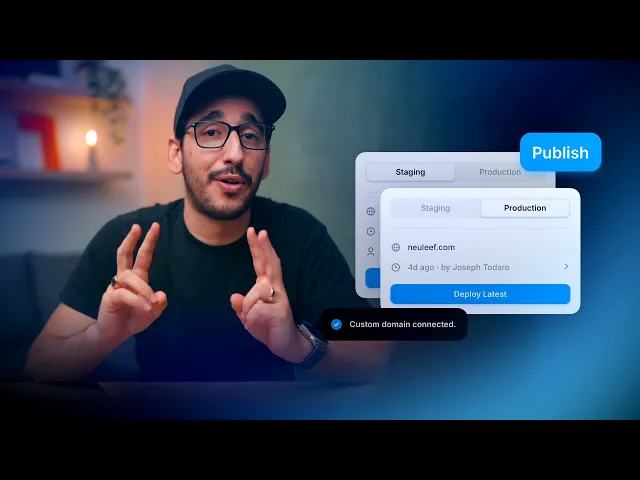
How to connect a custom domain: Tips and tricks
Learn how to easily connect a personal domain and publish your website instantly with Framer. Add a custom domain and manage it effortlessly through DNS settings.

Contents
Table of Contents
To make your website accessible online, you need to Publish your project. Click the Publish button in the top right corner to initiate site hosting. Once Publish is complete, you can check the URL on the Publish sheet. If there are changes to your project, you can republish anytime by clicking the “Update” button.

Adding a Free Custom Domain
By default, websites are hosted on a Framer subdomain, and this address cannot be changed directly. However, you can add a custom domain using one of the following options.
Add a free Framer subdomain
Connect an external domain you own
The first option is free, and Framer automatically configures the DNS settings to connect your domain within seconds. Enter the desired string, choose one of the domain options (framer.website, framer.photos, framer.media, framer.wiki), and submit.
Connecting an External Domain
To publish a Framer website with a custom domain purchased from a web hosting service, follow these steps:
Buy a domain from providers like Cloudflare or GoDaddy.
Go to the Site Settings' ”Domains” page and select “Connect a domain you own.”
Enter your domain and add the DNS records provided by Framer to your domain provider's DNS settings.
Most domain registrars provide a separate DNS management panel. Typically, you can find the DNS Records section in Domain Settings. Below are guides for major registrars.
Gandi: A Record and CNAME
Cloudflare: A Record and CNAME
Porkbun: A Record and CNAME
Domain Configuration
To set up a naked or apex domain (e.g., example.com), you need to configure two A Records and one CNAME in DNS settings.
A Record: Use the static IPv4 addresses provided by Framer
CNAME Record: Use for redirection to the “www” version of the domain
You can also find necessary records for Framer websites in the Domains tab of your project settings. Ensure that no other A Record or AAAA Record is set for the domain, as these values may conflict with Framer settings.Note: Naked, apex domains refer to domains without prefixes like www.
Name | Type | Value |
|---|---|---|
@ | A | 31.43.160.6 |
@ | A | 31.43.161.6 |
www | CNAME | sites.framer.app |
Subdomain Configuration
To set up a subdomain (e.g., subdomain.example.com), create a CNAME record in the DNS settings. Some DNS providers may require a trailing period (e.g., sites.framer.app.). Depending on the provider, you may need to input the entire subdomain or just the subdomain portion.
Name | Type | Value |
|---|---|---|
subdomain.example.com | CNAME | sites.framer.app |
Verifying Changes
DNS changes can take up to 48 hours to propagate worldwide, though they typically take effect much sooner. Once the domain is connected, you can access your website through the new domain.
If you continue to experience issues, please contact us through the Framer contact page.
This post is an adapted translation of Framer's official blog, ‘How to connect a custom domain’.
More posts


