Read Time
min
Design
Get Started
Aug 13, 2025
How to Set Up Component Libraries in Framer: Tips and Tricks
Create a component library in Framer to reuse design elements and simplify maintenance. With practical tips, you can maintain design consistency and manage efficiently.


Contents
Table of Contents
Why create a component library?
Building a component library is crucial for efficient work. When reusing the same components across multiple projects, managing them through a library allows you to update components all at once and apply changes wherever those components are used. This saves time and maintains consistent design regardless of scale.
What elements can be made into components?
In Framer, you can make almost any UI element into a component, from simple to complex.
Button
Footer
Navigation
Page sections
Interactive graphics and elements
Note: If a complex structure is frequently used, it is efficient to make it a component.
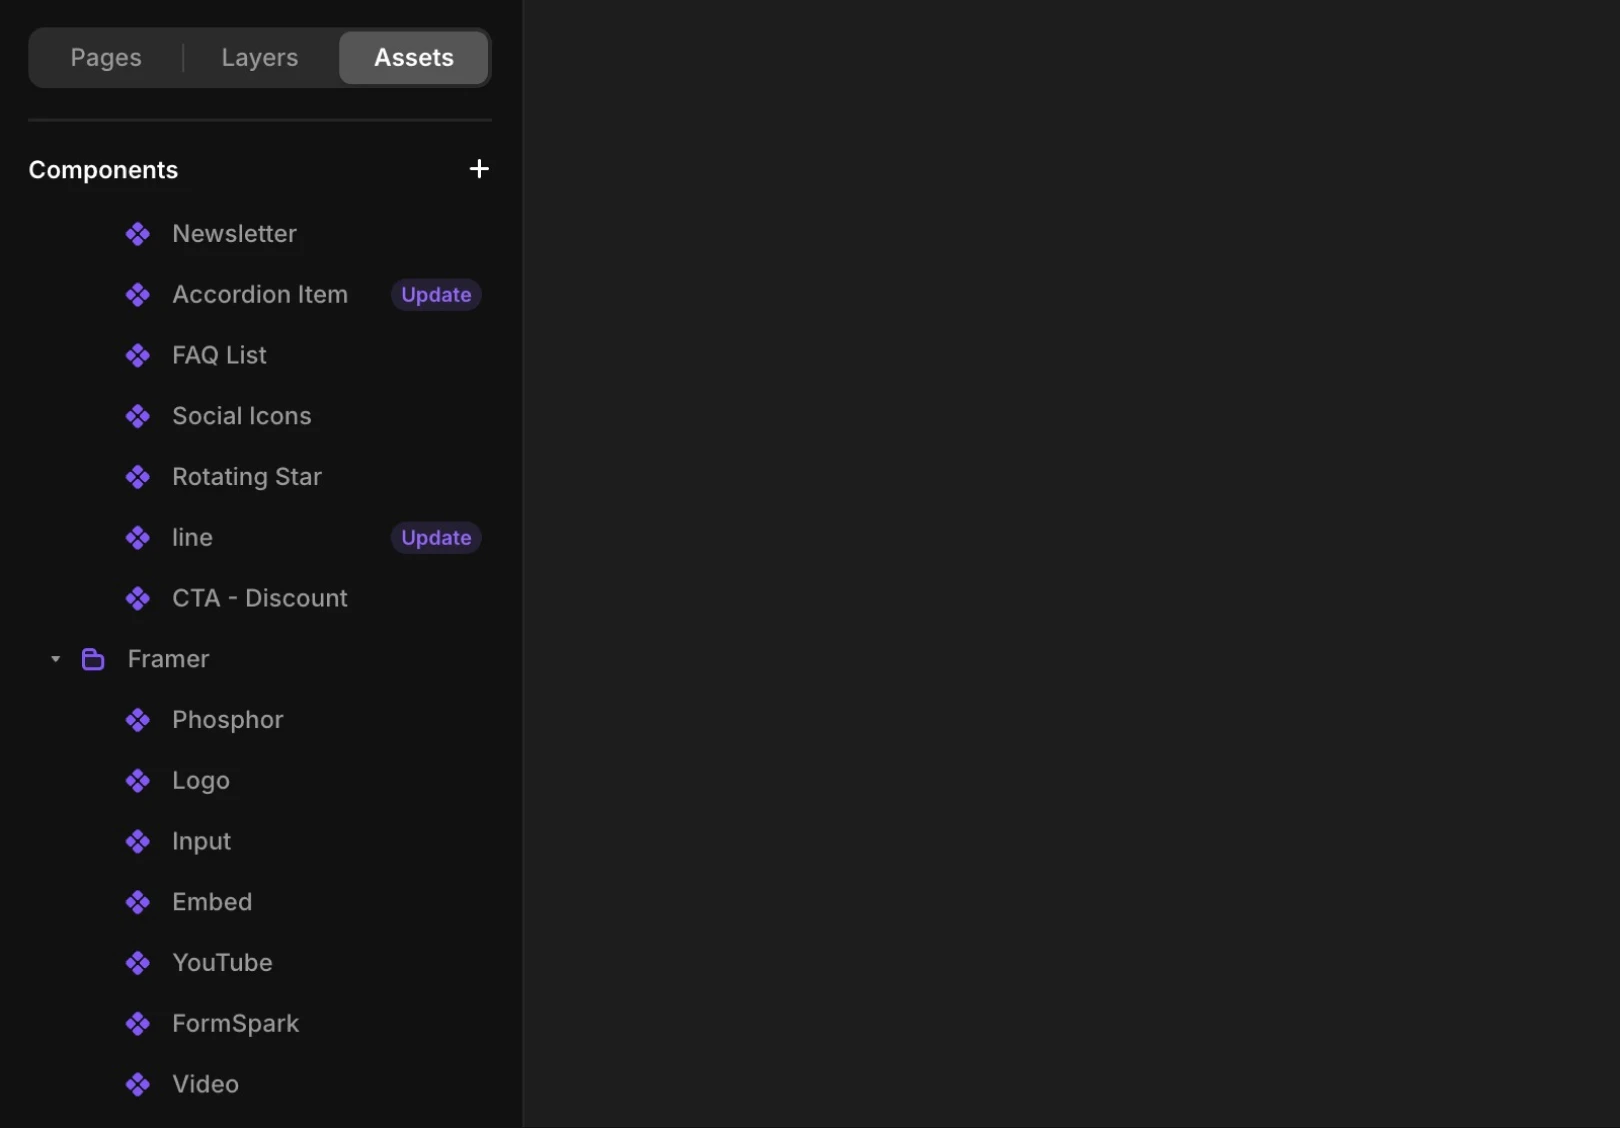
How to add components to the library
Click the
Assetstab in the left panelSelect the component to save
Click the more menu (
⋯) next to the component name and chooseLibrary>Add

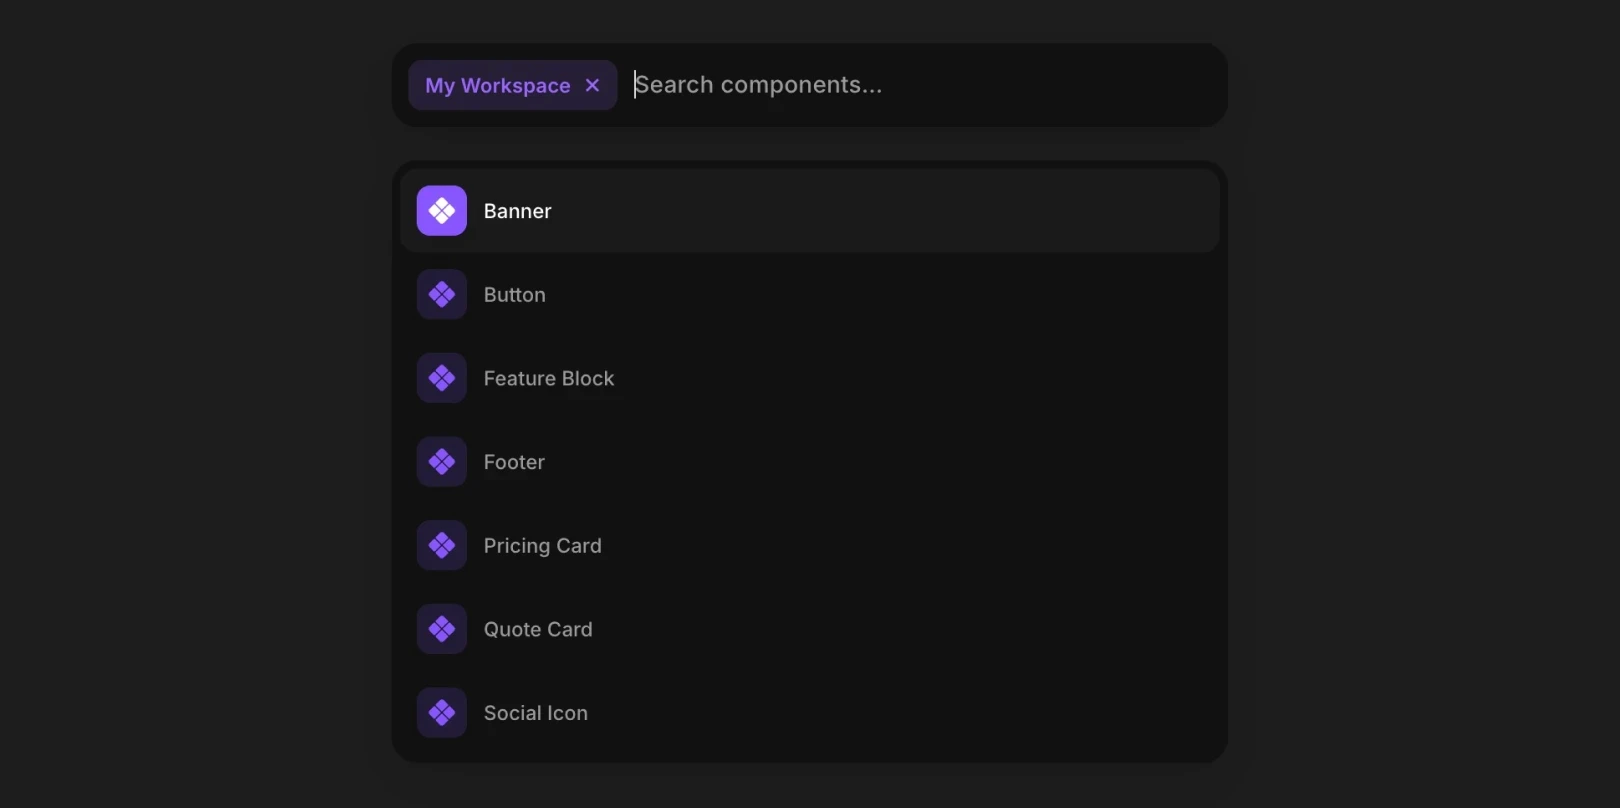
Importing components from the library
Open the Quick Menu with
⌘ + /(Mac) orCtrl + /(Windows)Browse or search for available components
Updating components across multiple projects
When you modify a registered component in the library, the Update button is activated in all projects using that component.
Locate the component to update in the
AssetstabClick the
Updatebutton
By just clicking the update button, all components can be updated at once without manual work.
Tips for managing components
1. Establish naming conventions
Use slashes for folders.
For example, naming the menu component asNavigation/Menugroups it under a "Navigation" folder.Structurally name components to include state, theme, and variant.
Example:Buttons/Navigation/PrimaryButton
2. Centralize components
Keep all components in a single project to easily update and reuse them.
3. Create Variants for breakpoints
Include
Desktop,Tablet,Phonein the component variant names. Framer will automatically select the right variant for the device.
4. Set Constraints
Clearly define minimum/maximum width and height. The component size will adjust as intended when the screen size changes.
This article is an adapted translation of Framer's official blog post ‘Best practices for setting up a component library’.
More posts
Read More Blog

Design
Get Started
Dec 26, 2025
Increase your workflow speed in Framer using keyboard shortcuts

Design
Get Started
Dec 26, 2025
Understanding Framer's Reduced Motion Settings

Design
Get Started
Dec 26, 2025
Utilize text styles and semantic tags on your website

Design
Get Started
Dec 26, 2025