Read Time
min
Performance
Aug 13, 2025
Hosting the Framer site with CloudFront
Introducing how to host a Framer site via Amazon CloudFront, providing detailed guidance on setup and deployment for fast web content delivery. We also explain origin management and connecting custom domains, offering practical information for use.


Contents
Table of Contents
What is CloudFront?
CloudFront is a content delivery network (CDN) offered by Amazon.
Framer uses CloudFront by default to deliver assets. Therefore, typically, no separate CloudFront configuration is necessary, and it only needs to be set up directly when greater control over the hosting environment is needed.
When should it be configured directly?
When there is a need to finely control security policies, caching rules, traffic routing, etc.
When multiple origins need to be managed in an integrated manner
How to Configure CloudFront
Go to Settings → Domains in your Framer project.
Add a free Framer subdomain to your site (e.g.,
my-company.framer.website).

Next, switch the Canonical URL option to Advanced in the same menu, enter a custom domain (e.g.,
my-site.com), and publish your website.
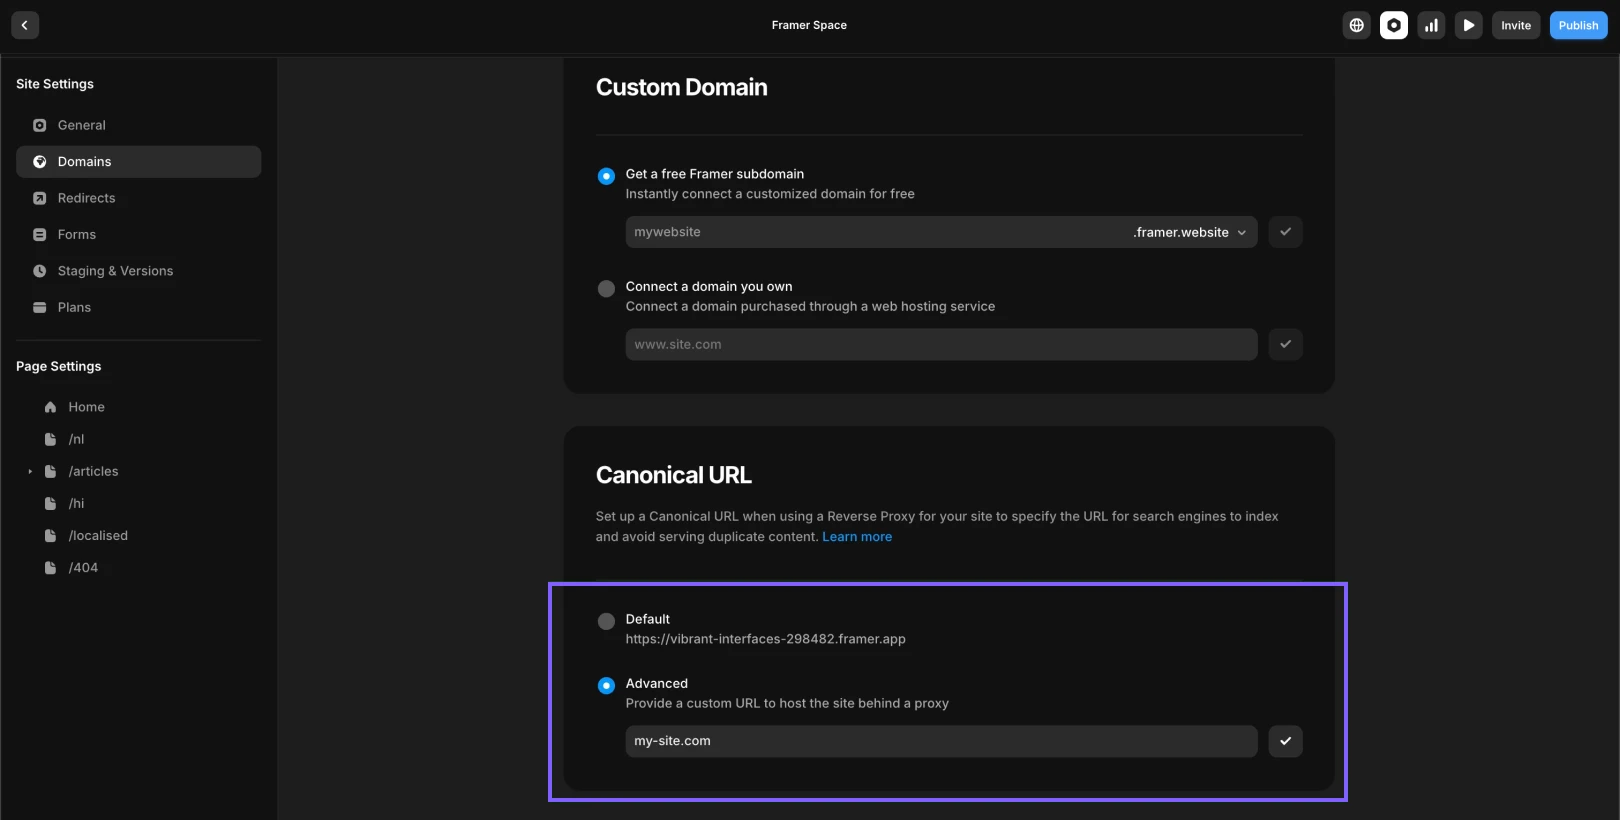
Note: You must use a custom Framer subdomain like my-company.framer.website. Do not use the base domain format <something>.framer.app.
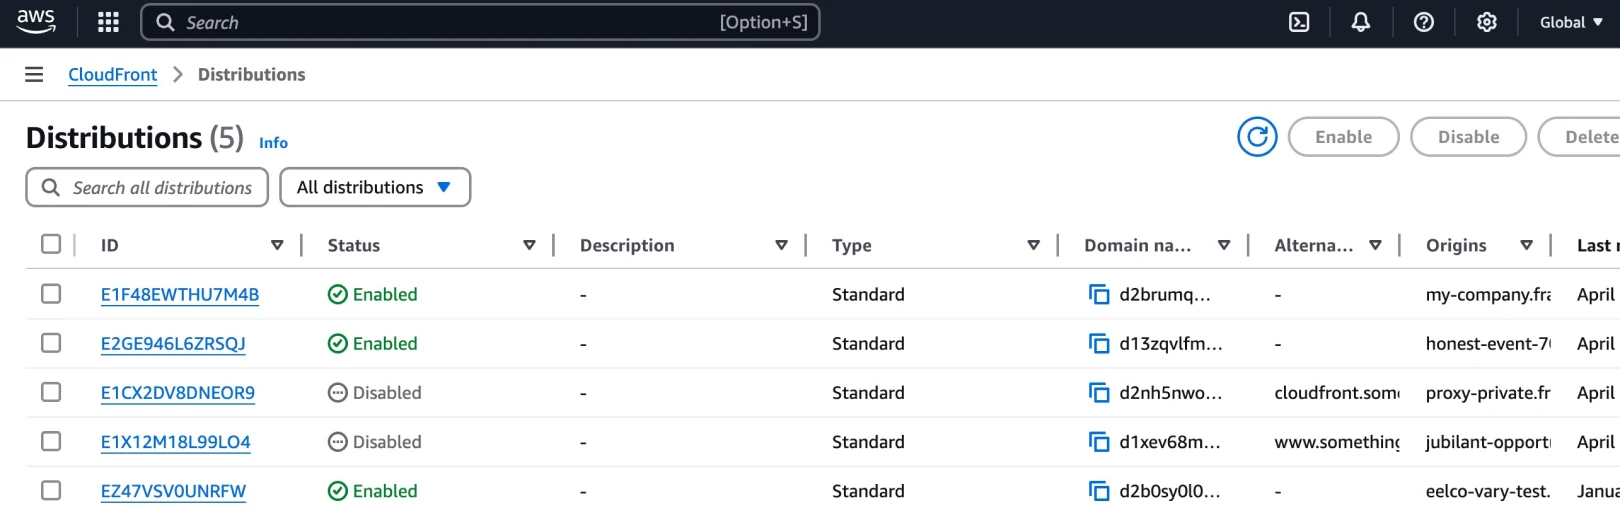
Create AWS CloudFront Distribution
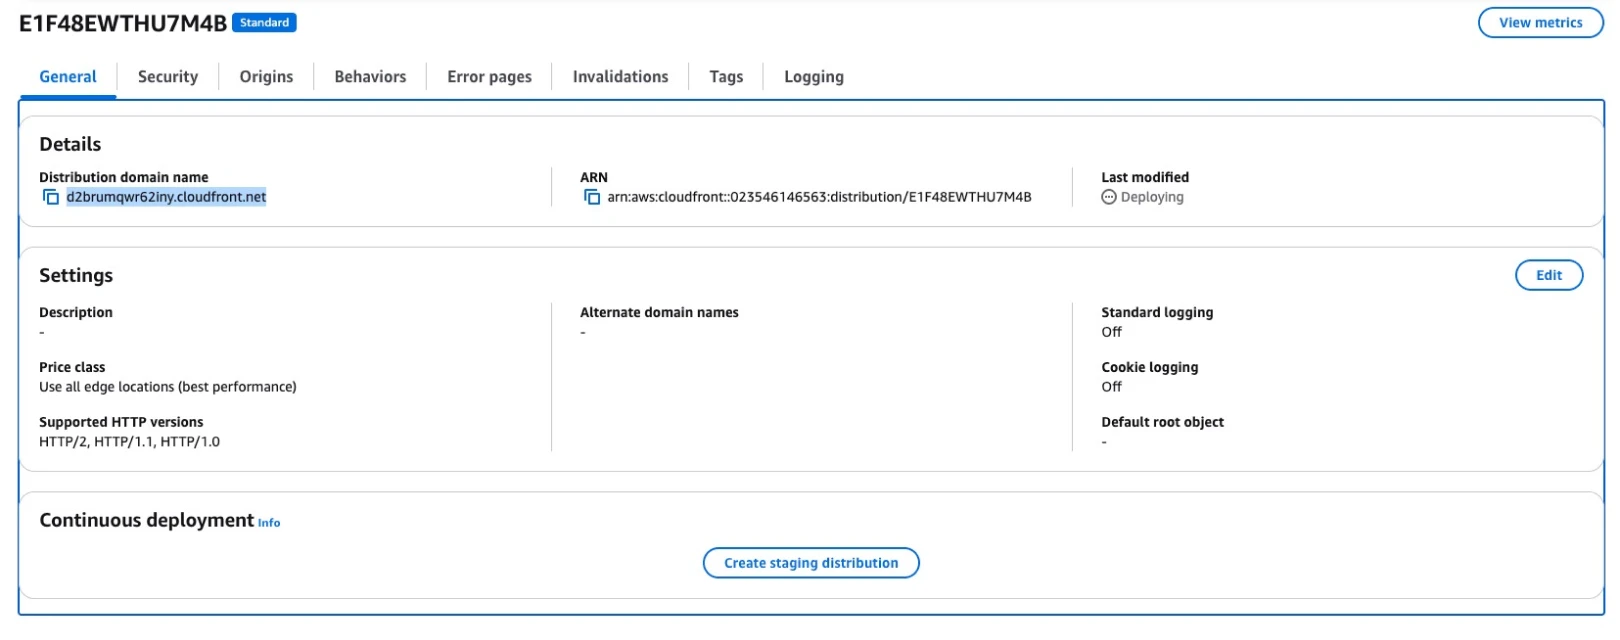
Navigate to CloudFront in the AWS Management Console.
Click Create Distribution.
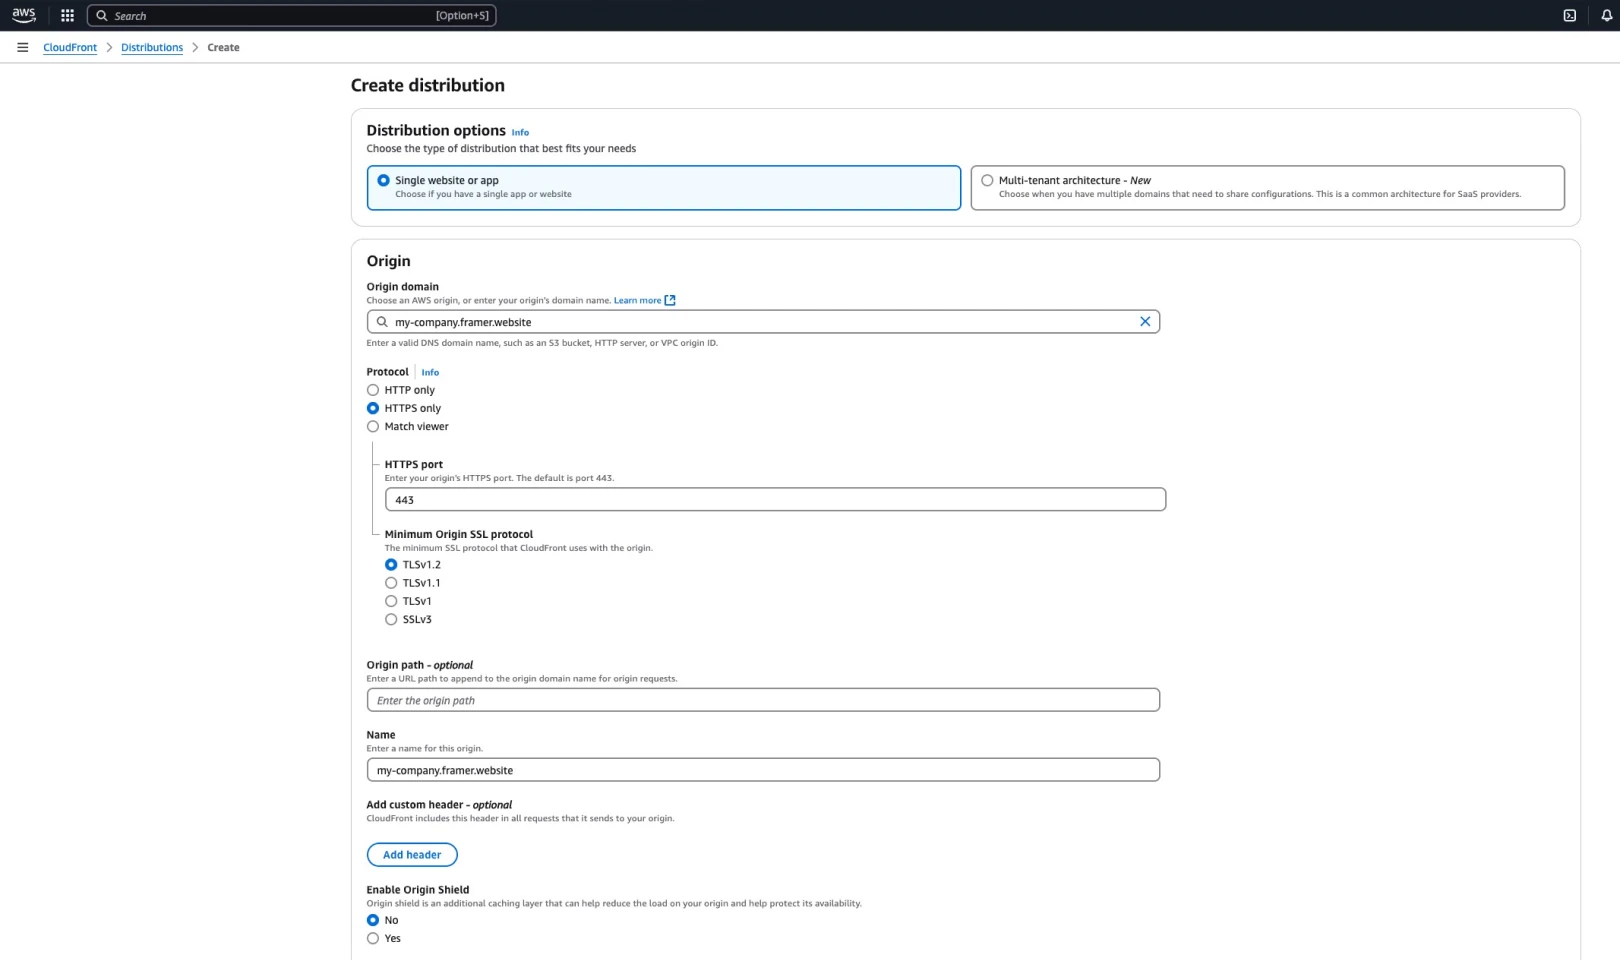
Enter the Framer subdomain in
Origin Domain.Important: Use
my-company.framer.websiteinstead of<something>.framer.app
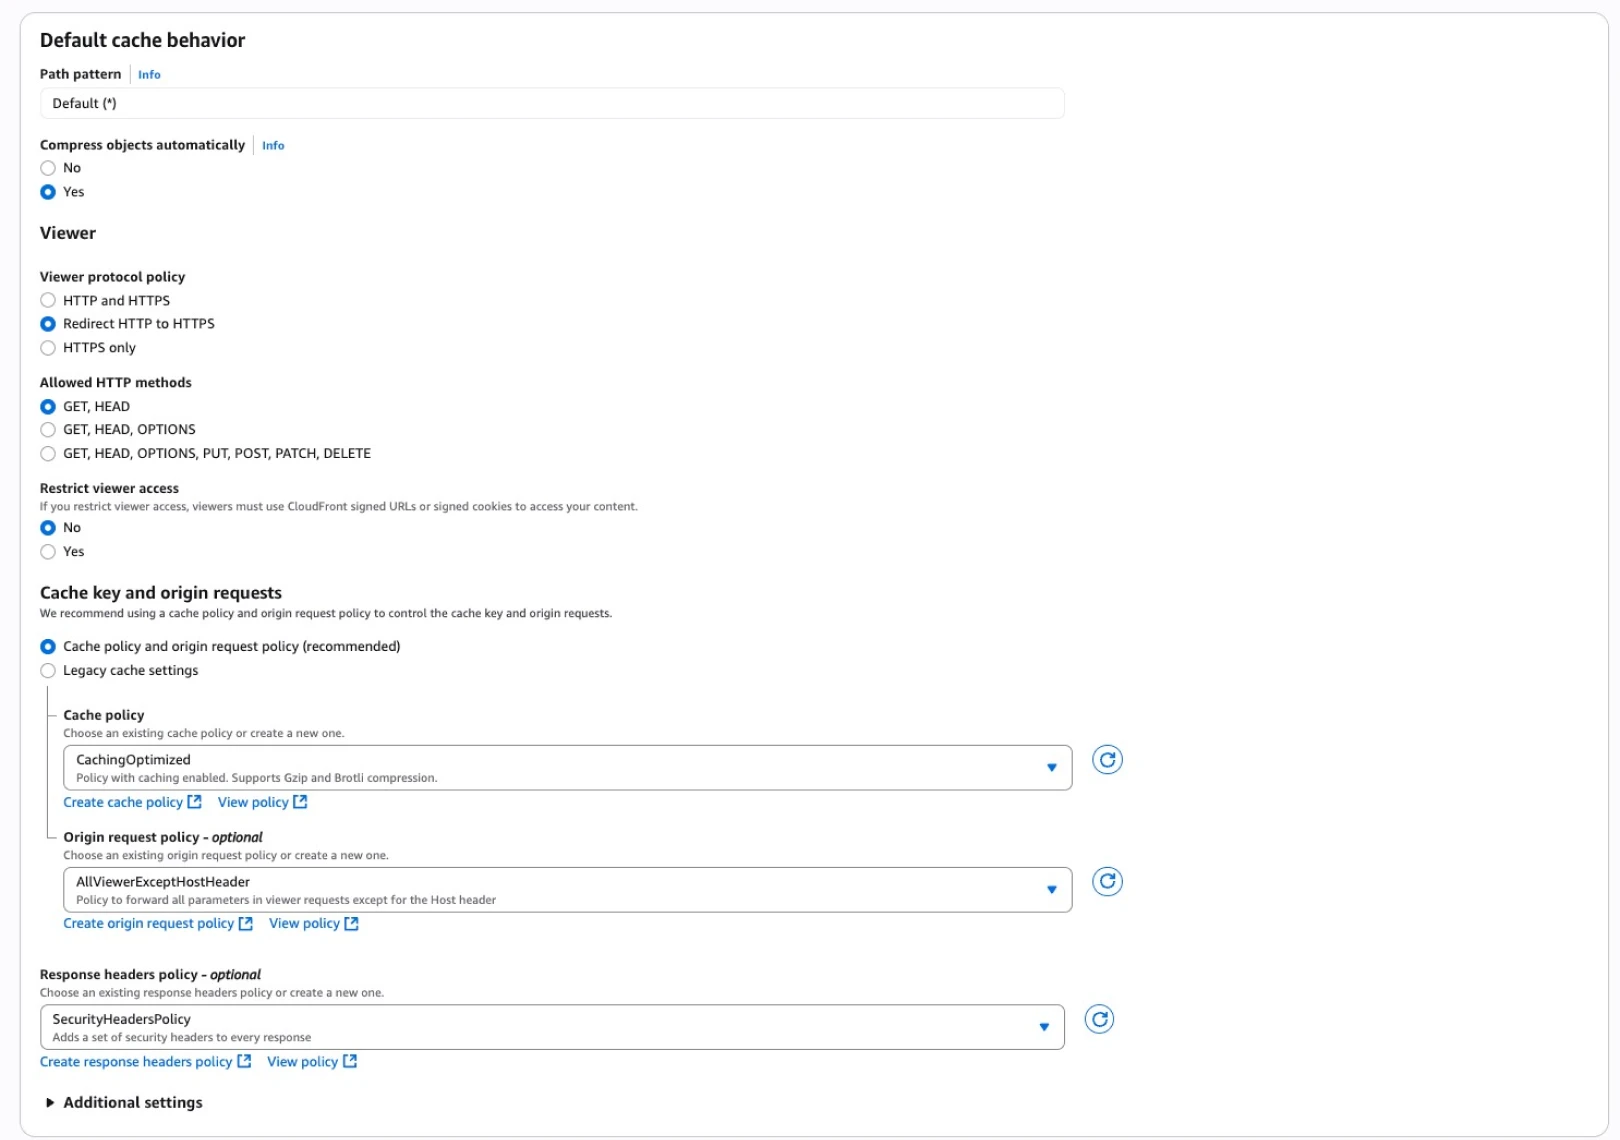
Set the default Cache Behavior as follows:
Viewer protocol policy: Redirect HTTP to HTTPSAllowed HTTP methods: GET, HEAD
(For password-protected sites, GET, HEAD, OPTIONS, PUT, POST, PATCH, DELETE)Cache policy: CachingOptimizedOrigin request policy: AllViewerExceptHostHeaderResponse headers policy: SecurityHeadersPolicy
After adjusting the options, click Create distribution.
Once deployment is complete, click the link to confirm site access through CloudFront.
Configuring Multiple Origins
For example, if you want to serve only the /framer-project/ path from the Framer site
URL | Origin |
|---|---|
my-site.com | https://my-project.vercel.site |
my-site.com/framer-project | https://my-company.framer.website |
Select Behaviors → Create Behavior in the existing CloudFront distribution.
Enter
/framer-project/*in thePath pattern.Select the Framer project for the origin of that path.
Apply the same cache, protocol, and header policies as explained earlier.

After saving, wait for deployment to complete, allowing two origins to be used in a single CloudFront distribution.
Domain Connection
To add a custom domain to the CloudFront distribution, use the Alternate Domain Name (CNAME) feature.Note: It is convenient to use Route53 if you want to use an apex domain (mysite.com).
This article is a translated and adapted version of the Framer official blog content ‘Hosting with Amazon CloudFront’.
More posts


