Read Time
min
Get Started
Insights
Sep 22, 2025
From setting up to publishing after purchasing a Framer template
After purchasing a Framer template, we provide detailed guidance on setup and publishing, along with practical tips on creating personalized content, optimizing for SEO, and utilizing CMS.


Contents
Table of Contents
Opening and Finding Templates
The Framer Marketplace offers free/paid templates for starting web projects. Please refer to the instructions below on how to use the templates depending on their pricing.
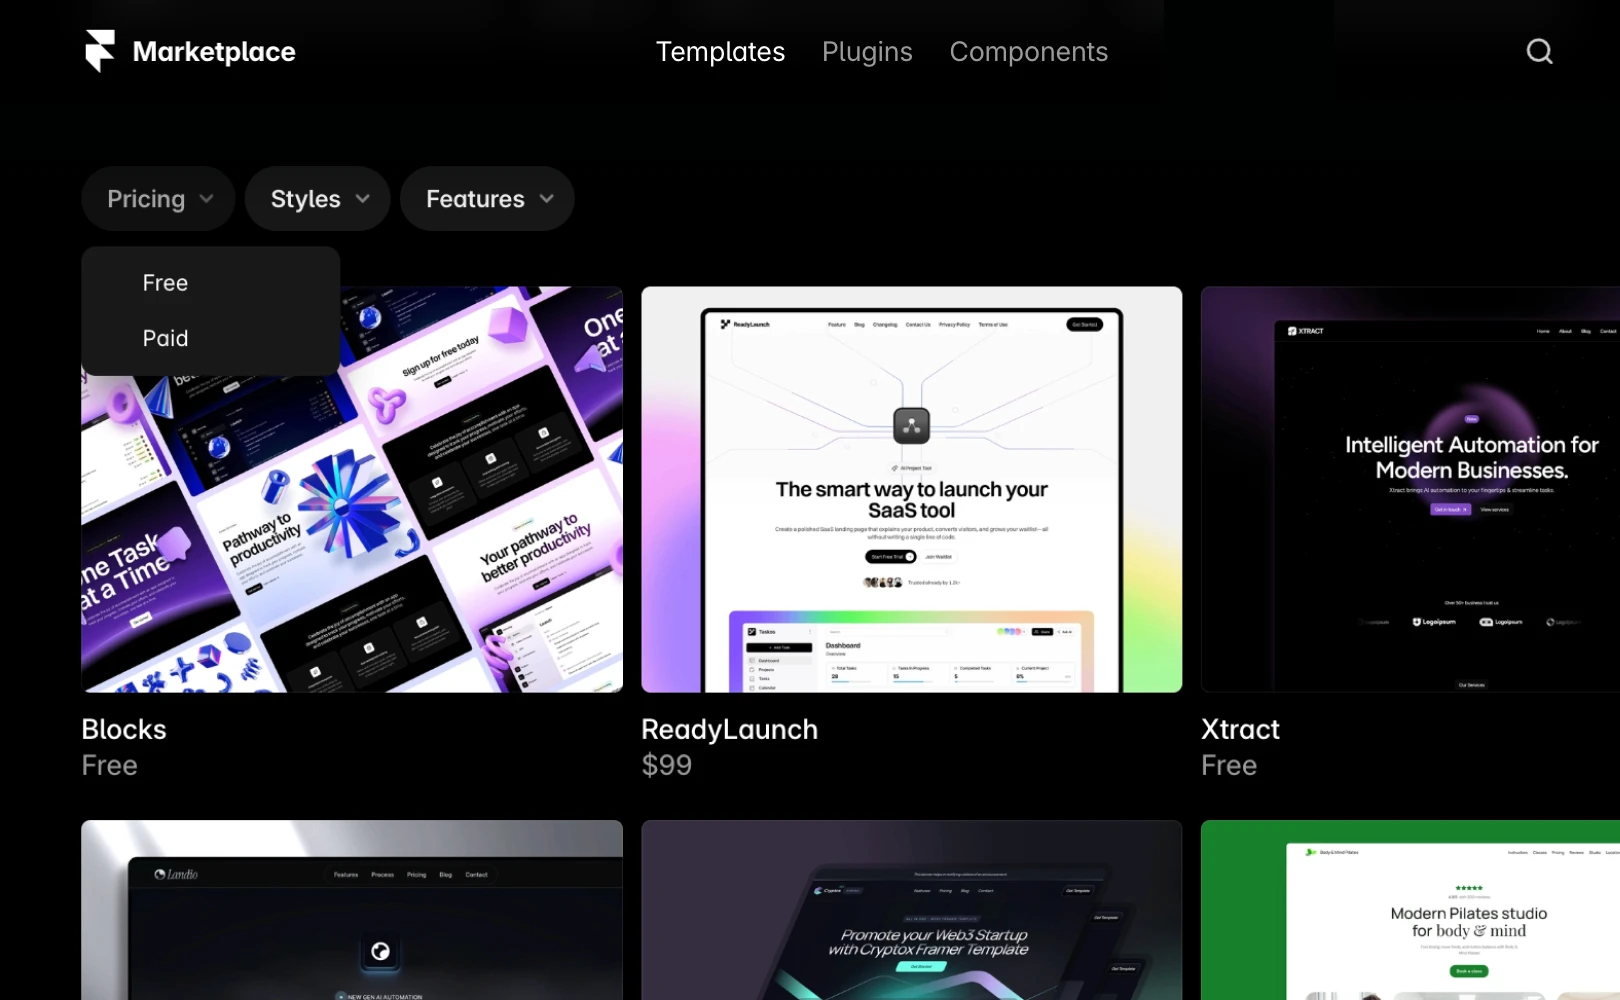
Free templates: Click the
Use for Freebutton on the plugin to add it directly to your workspace.Paid templates: After payment, a
Remix Linkwill be sent via email, and clicking this link will automatically duplicate the project in your workspace.
If Projects Don’t Appear on the Dashboard
Try refreshing the site.
If you changed browsers or have a new account, try clicking the link again.
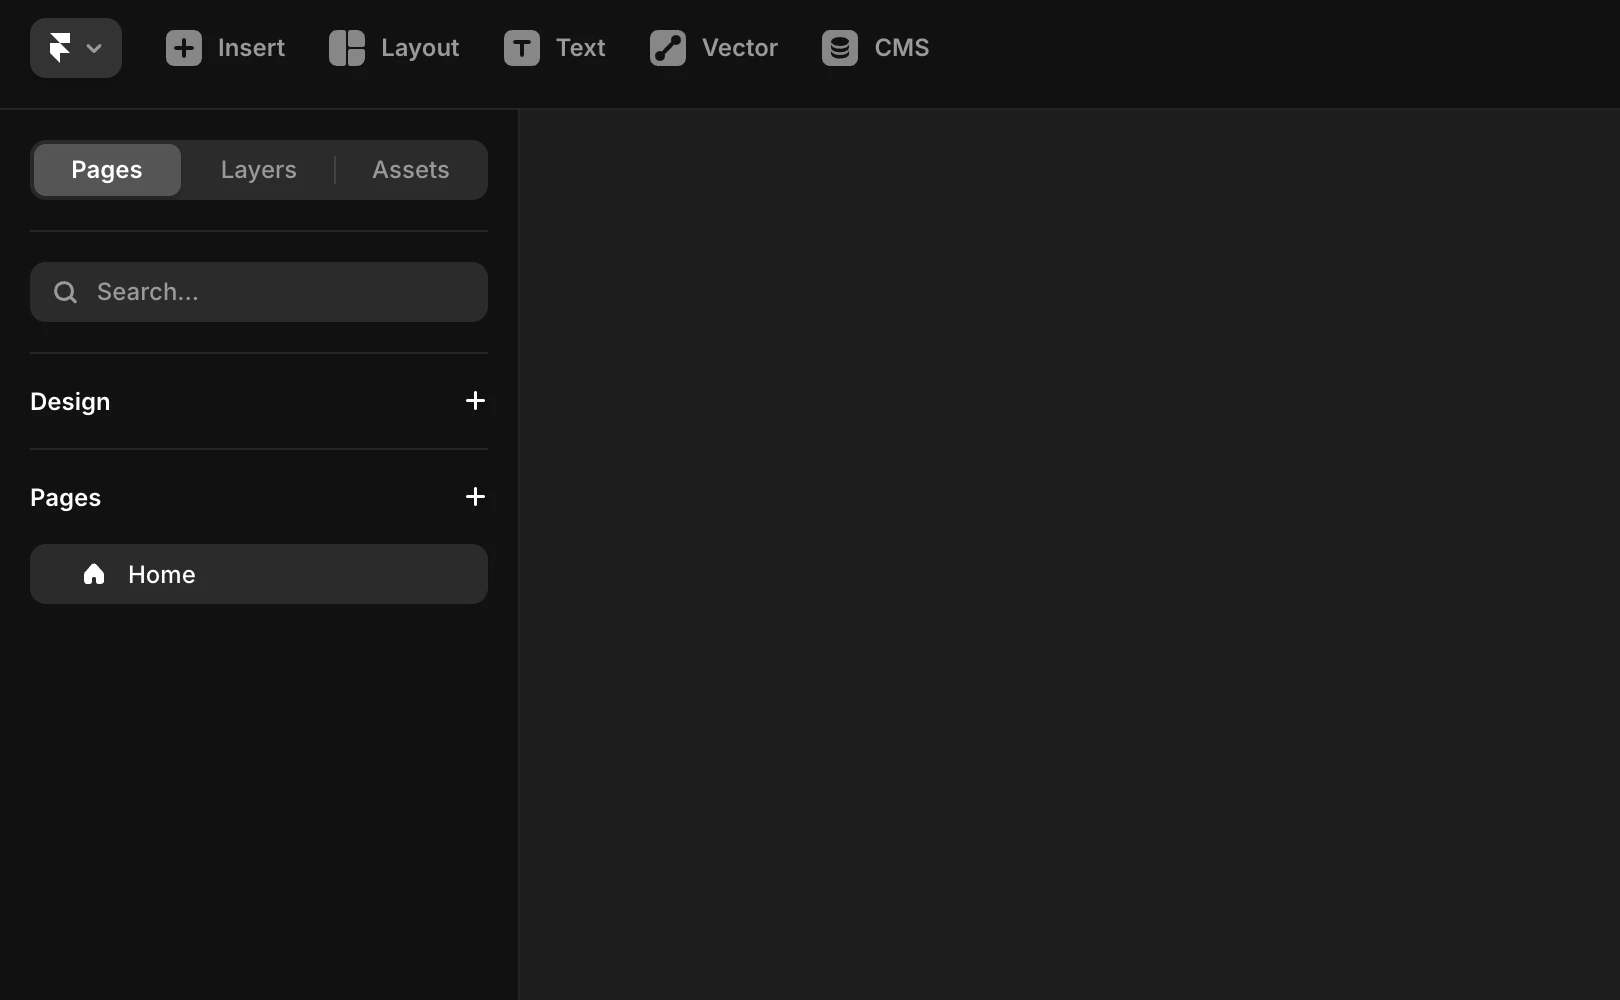
Understanding the Layout
It’s good to review the template structure before you start editing.
You can see all pages and section structures in the left panel.
The
Assetspanel allows you to check global color and text styles. Setting the brand colors and fonts initially ensures the entire site updates automatically, improving work efficiency.If the template includes a CMS, you can manage repeating content such as blog posts or product lists. You should also check which sections link to CMS data.
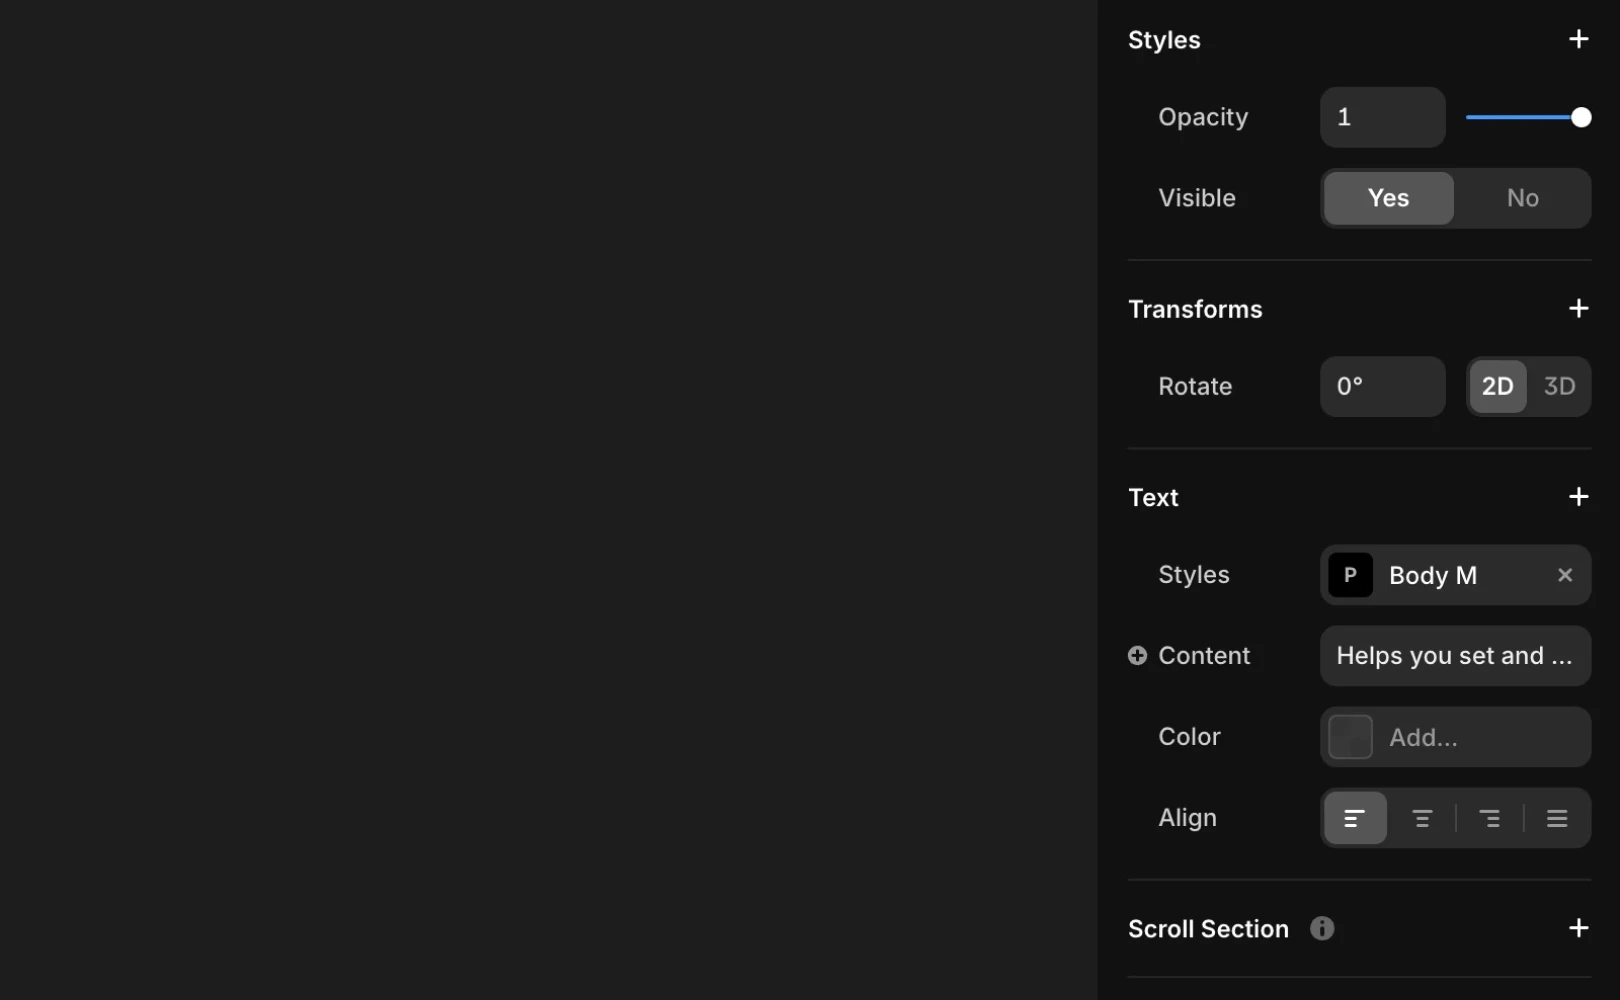
Customizing Content
Once familiar with the template, it’s time to customize it to make it your own. Most users start customizing by updating text and images.
Editing text: You can replace the text you want by double-clicking, and adjust font/size/alignment in the right properties panel.
Replacing images: Use the
Swapfeature by double-clicking the image.Updating colors: Modifying global color tokens reflects changes across the site.
Deleting a page: Right-click the page name in the left panel, then delete it using
Delete. Make sure to update the navigation menu accordingly.
Note: Some templates include Layout Templates. You can manage elements like navigation/footer/banner more easily by editing them once and applying the changes across the entire page.
Editing Components
Components are reusable elements used throughout the site, like project tiles, footers, and FAQ sections. Framer templates utilize components to maintain consistency across layouts.
Editing master components: Changing the logo or color in a master component reflects across all pages where the component is replicated.
Editing single instances: Some components allow variation through
Variablesettings, such as changing only the title of an FAQ item or just the button color.
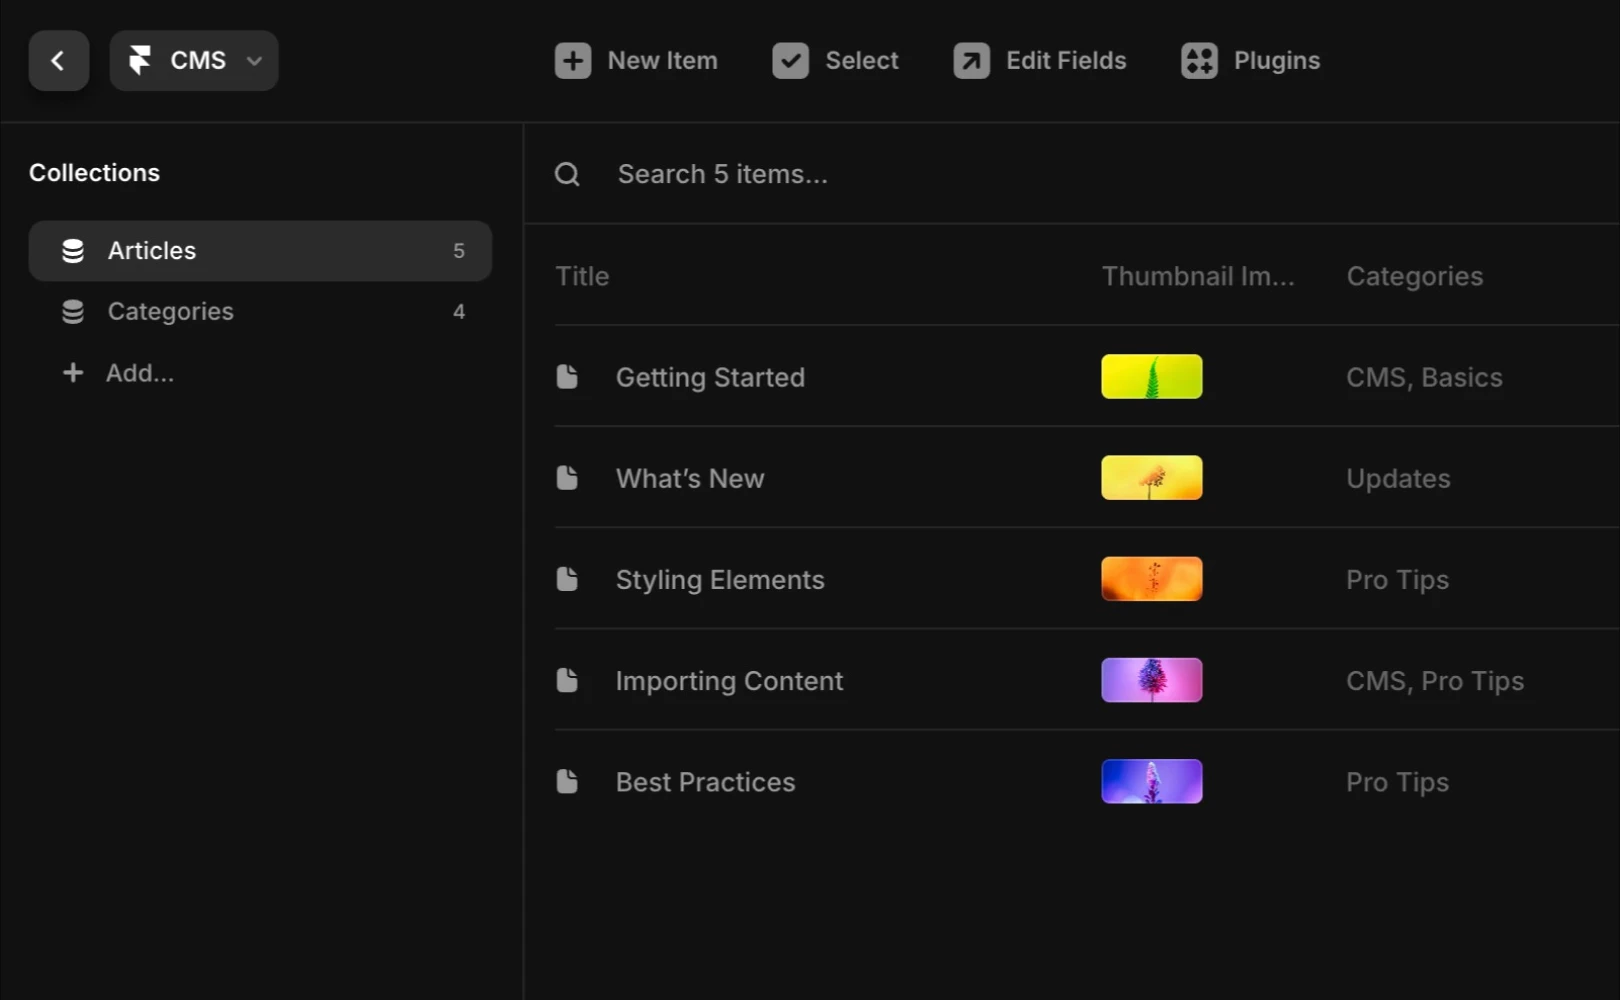
Utilizing CMS
Pages that require managing repetitive content, like blog posts or portfolio projects, include a CMS. By registering them once in the CMS instead of editing each page, connected pages update automatically for easier management.
If you are new to using CMS, referring to the CMS Academy tutorial can be helpful.
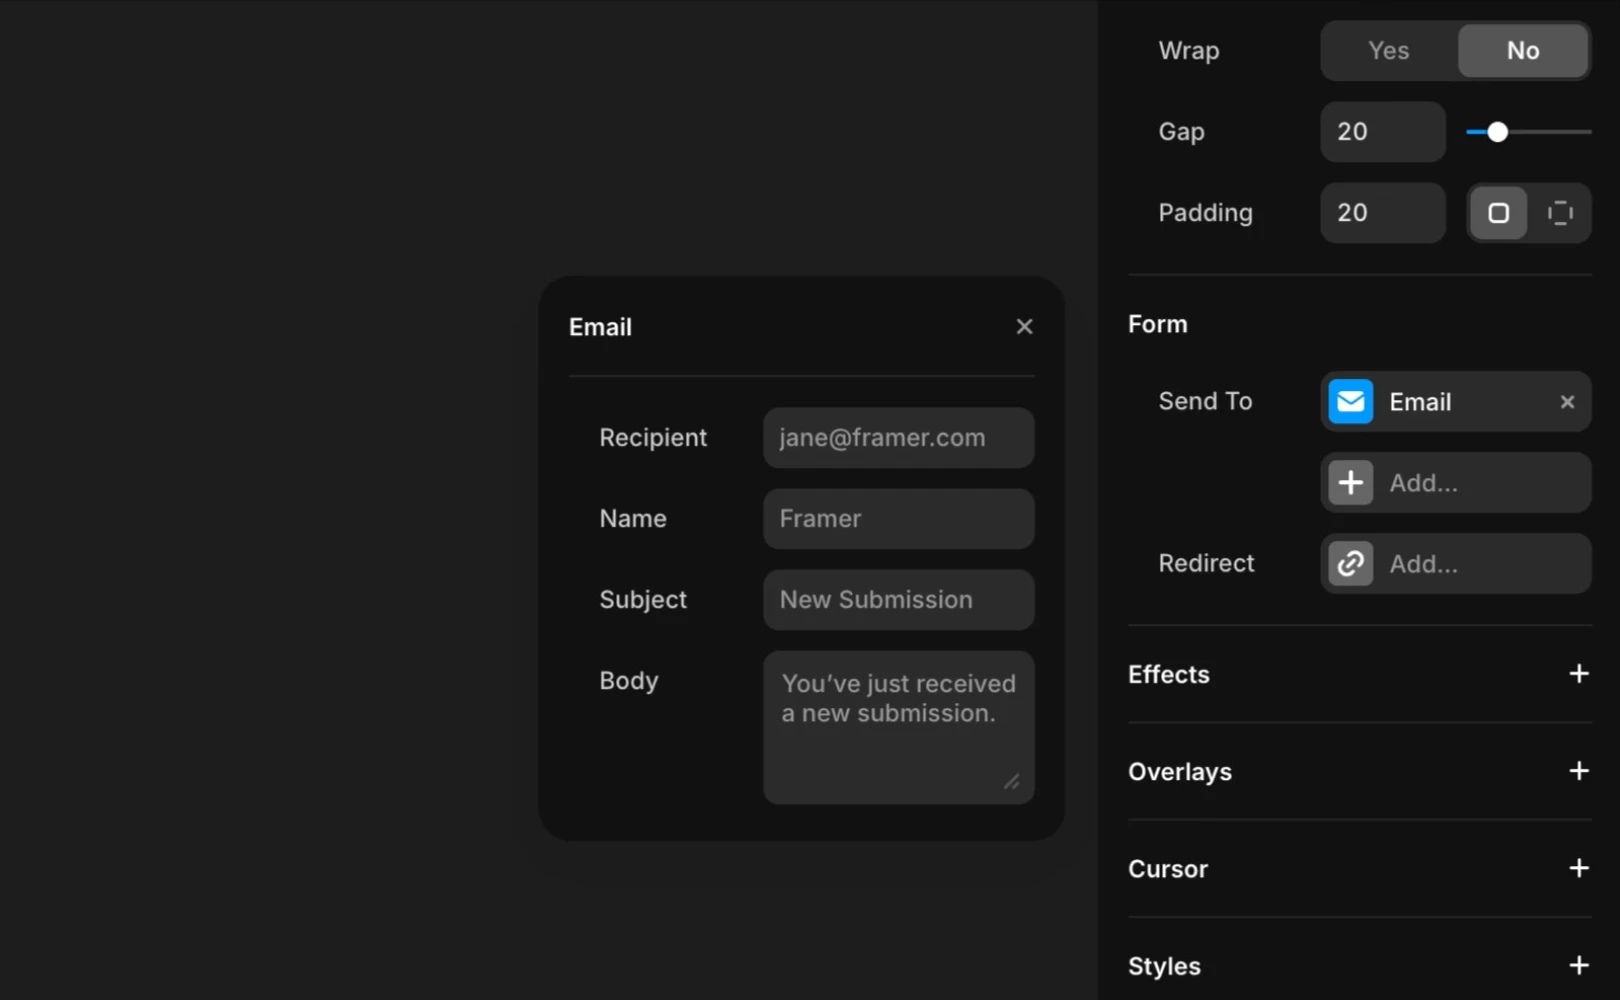
Setting Up Contact Forms
Many templates include contact or newsletter subscription forms that need to be specified to work. By default, these forms do not operate, so you need to designate where to send them.
Select the layer to insert the Form in the UI.
Enter an email address or endpoint in the
Send tofield in the right properties panel.
This process ensures submitted messages are delivered to your inbox.
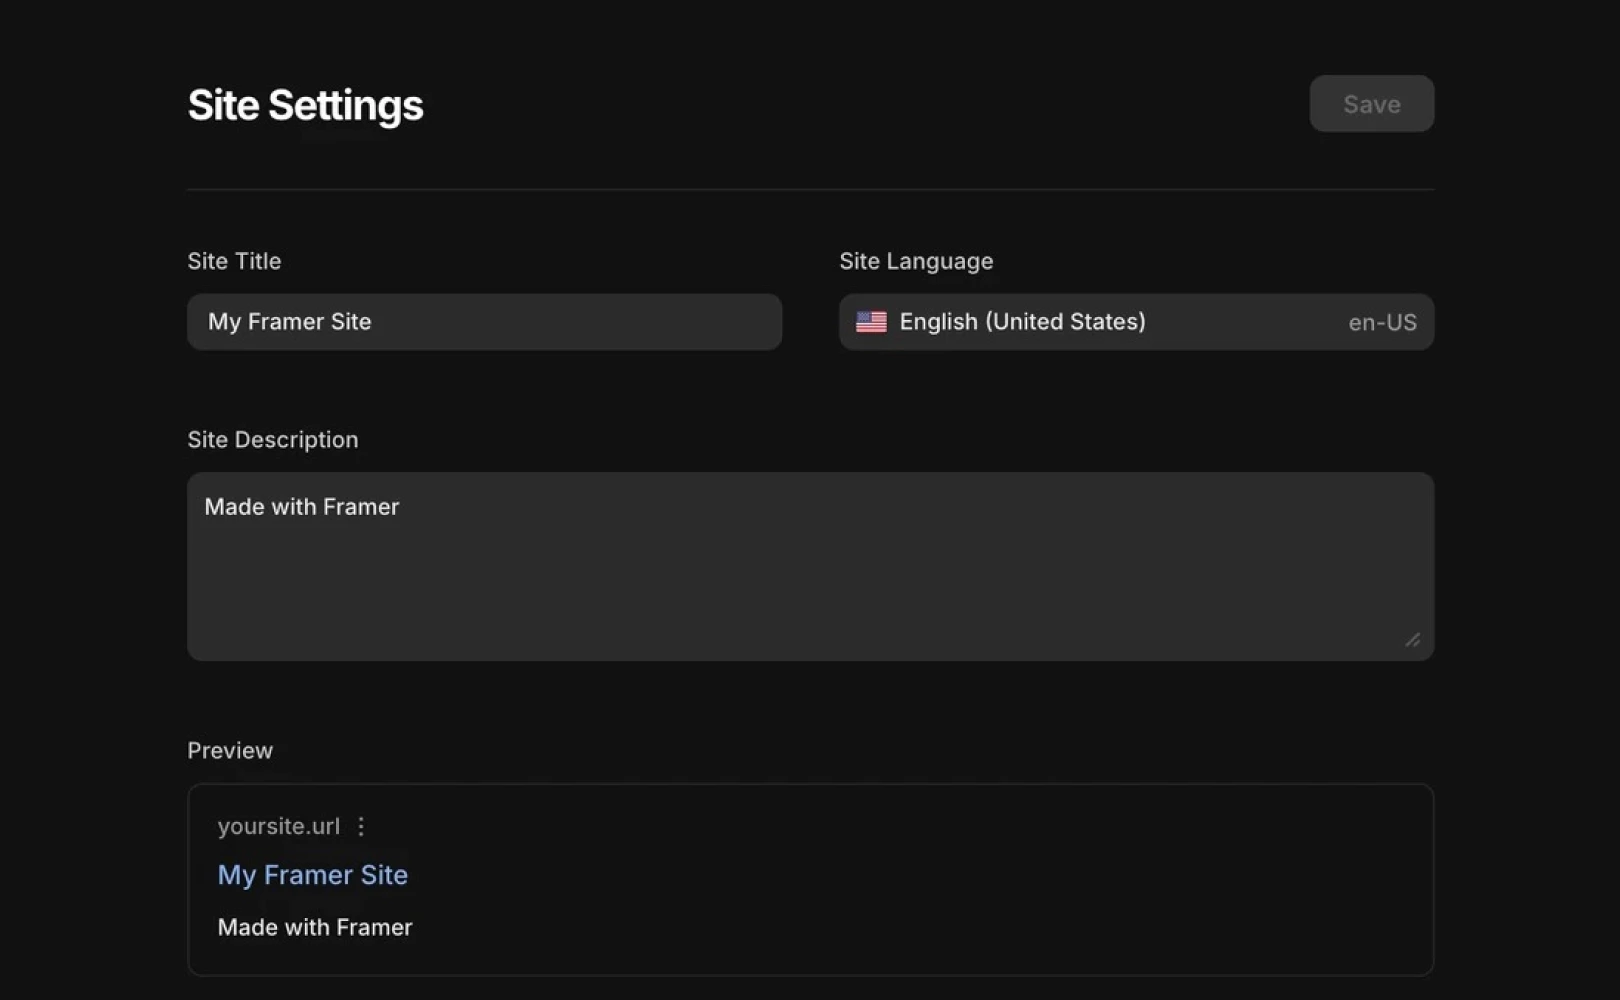
Configuring the Site
To precisely adjust how your site appears on page titles, meta descriptions, and social media previews, use the site settings.
Click Settings in the top-right corner to make modifications.
To increase site visibility, fill out SEO fields to improve search exposure.
If using third-party tools like Google Analytics, enter the tracking ID in the designated field.
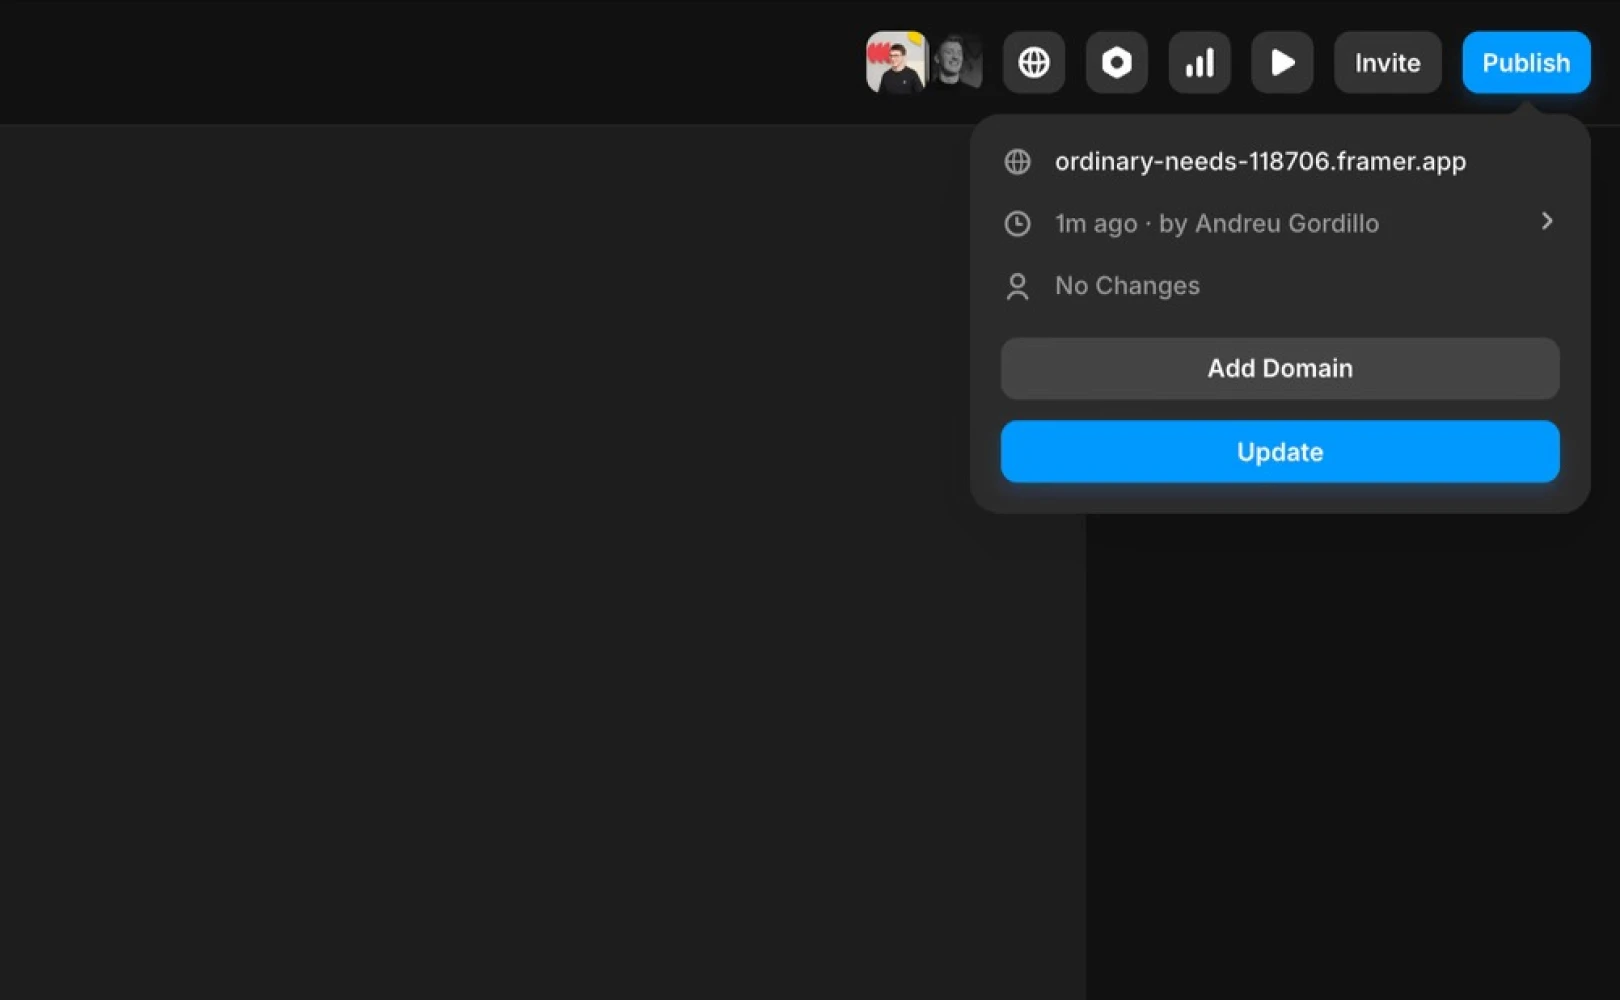
Publishing Your Site
Once design and content are complete, click “Publish” to publish your site. For more details, refer to the custom domain connection guide.
Free subdomain: Test or share your site with a subdomain provided by Framer.
Connecting a custom domain: Go to
Settings → Domainsand follow the steps for connecting a custom domain. Depending on the Framer plan, you might need to update DNS records or use auto-connect options if supported by your registrar.
Additional Information
If you need more information, it is recommended to consult the resources below for further assistance. For template-related inquiries, email creators@framer.com.
Framer Academy: Tutorials on layouts and interactions
Framer Support: Contact the official support team for progress updates
Framer Experts: Hire experts for customized support
This article translates and adapts content from the Framer official blog’s ‘Just bought a template, what’s next?’.
More posts
Read More Blog

Get Started
Insights
Dec 26, 2025
Increase your workflow speed in Framer using keyboard shortcuts

Get Started
Insights
Dec 26, 2025
Understanding Framer's Reduced Motion Settings

Get Started
Insights
Dec 26, 2025
Utilize text styles and semantic tags on your website

Get Started
Insights
Dec 26, 2025