Read Time
min
Problem / Issue
Nov 3, 2025
How to Fix the 'SVG with Large Image Not Supported' Error
We're introducing three solutions to resolve the issue of 'errors when a large image is included in SVG'. You can effectively address this error in Framer by reducing the image size, exporting the SVG and image files separately, or exporting the entire image as a PNG.


Contents
Table of Contents
Errors When Large Images Are Included in SVG
You may have seen the following error message when uploading an SVG file in Framer:“SVGs with large raster images (~XXX KB) inside are not supported." This error occurs when large images (JPG or PNG) are included inside an SVG file exported from design tools like Figma.
Why Does This Error Occur?
When exporting SVG images from apps like Figma, it may include other images in JPG or PNG format. For instance, if a graphic exported from Figma includes photos or screenshots, you might encounter issues like this.
Note: The SaaS kit used can be downloaded here.
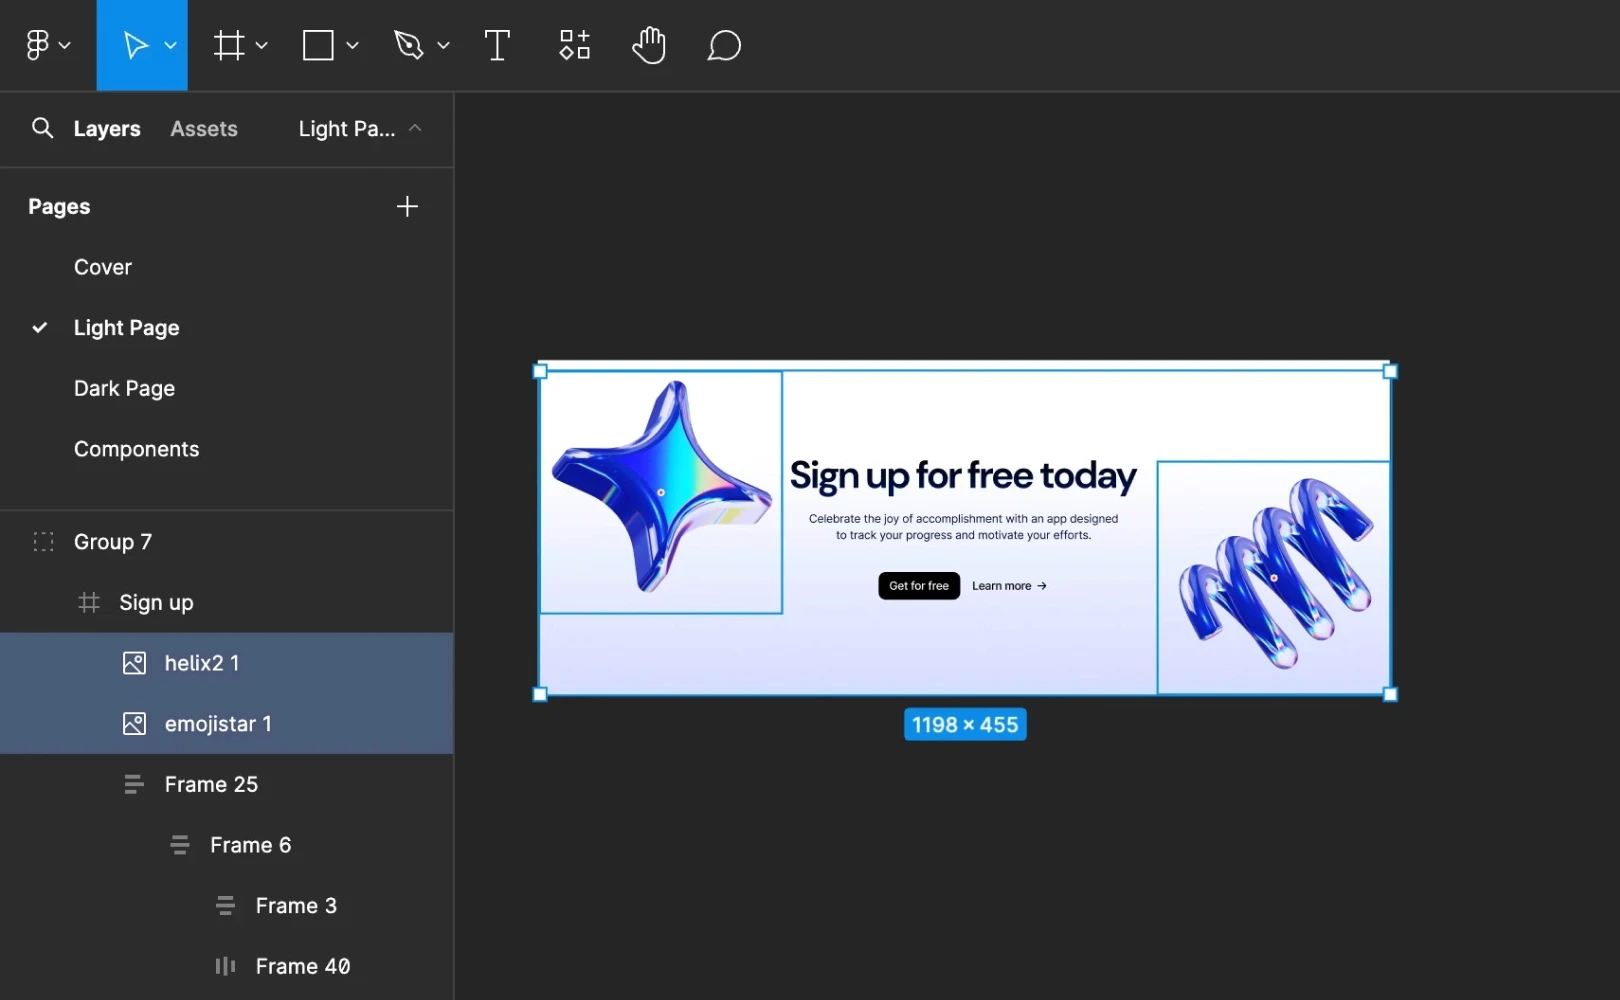
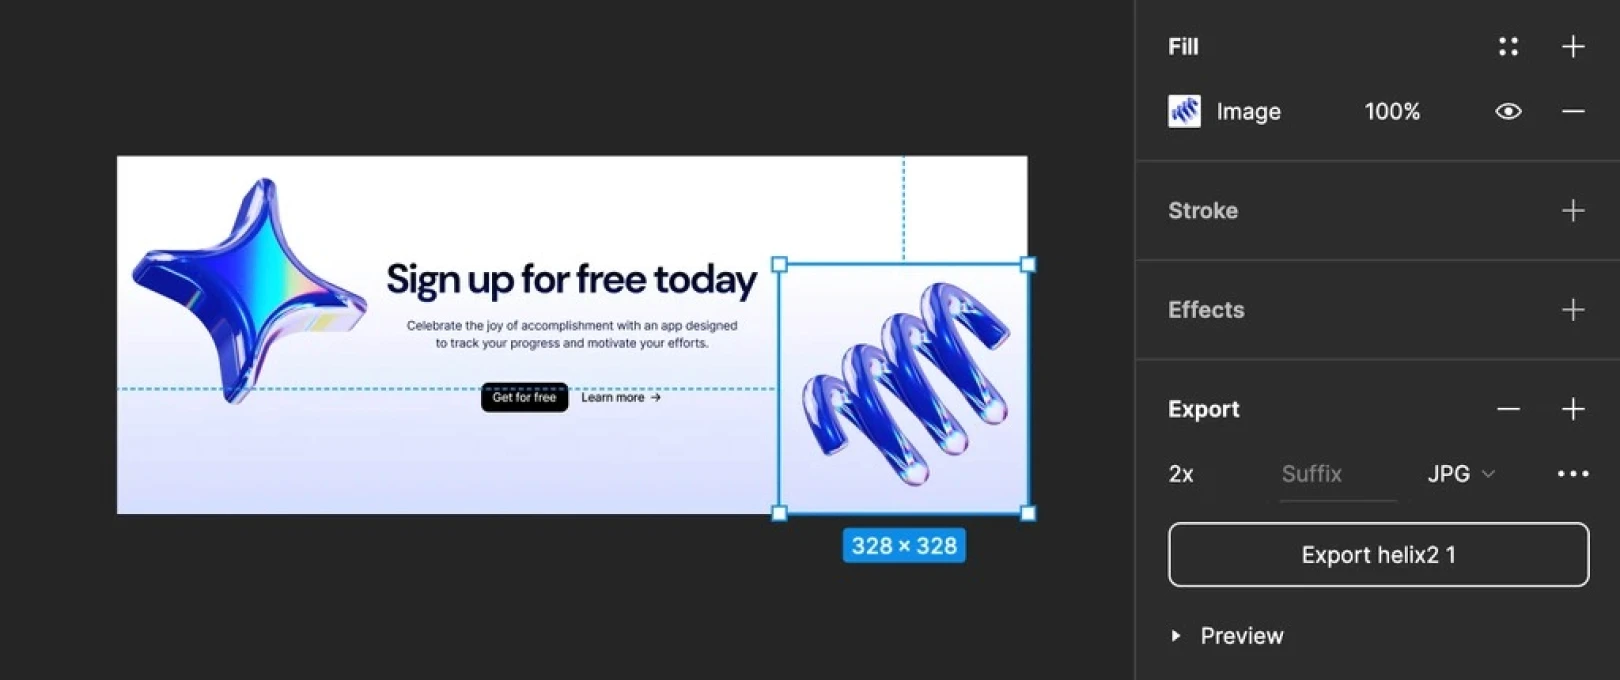
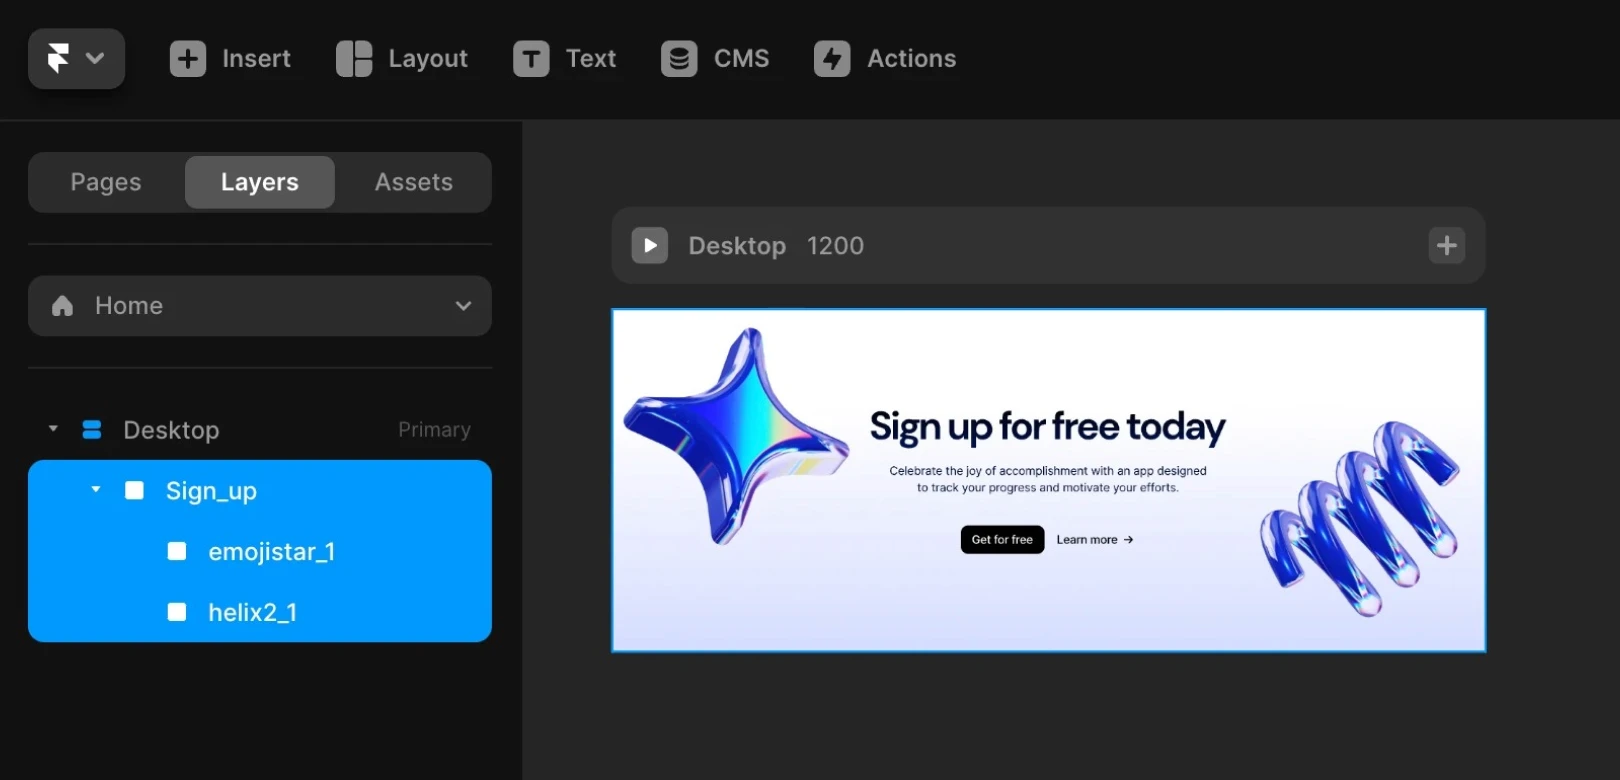
Using a CTA illustration as an example, if you export the card as SVG, both photos on the screen are included in the SVG.
Raster images like photos or screenshots cannot be converted to SVG format. Thus, they are included inline, retaining their full size. The problem is that during the inlining process, the image size increases by about 33%. For example, an original photo of 100KB will take up about 133KB within the SVG file.
Framer supports SVGs with raster images, but only up to a certain size. If the SVG you upload includes images exceeding this limit, you'll encounter this error.
Fixing the Error
There are three ways to address this error.
Method A: Reduce Image Size and Re-export
This method is the easiest of the three.
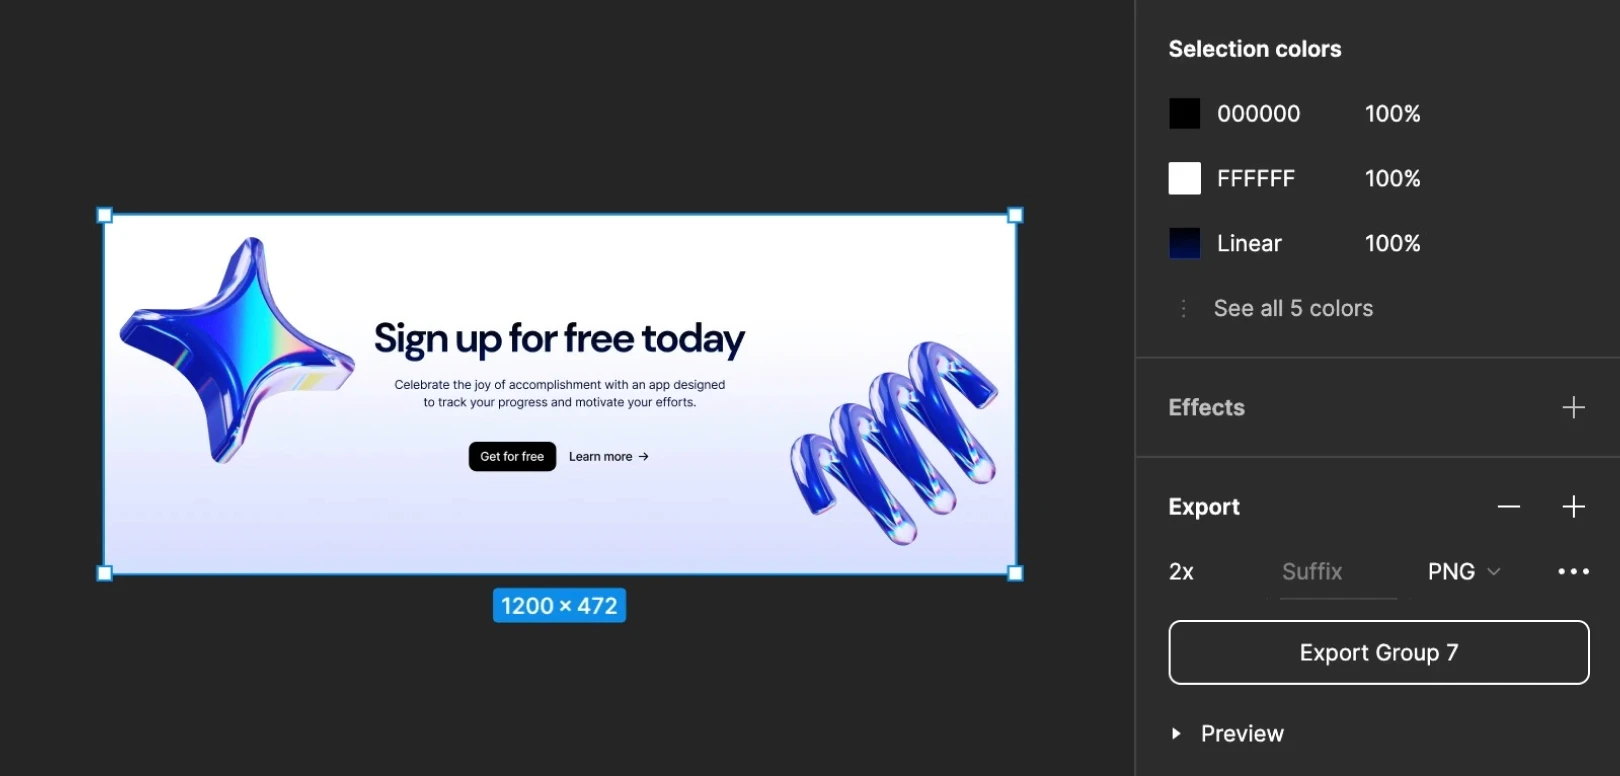
Export the problematic graphic as a JPG or PNG at 2x or 3x resolution.
Reduce the file size of the exported image using an image compression tool like tinyjpg.com.
Re-upload the compressed image to the same location.
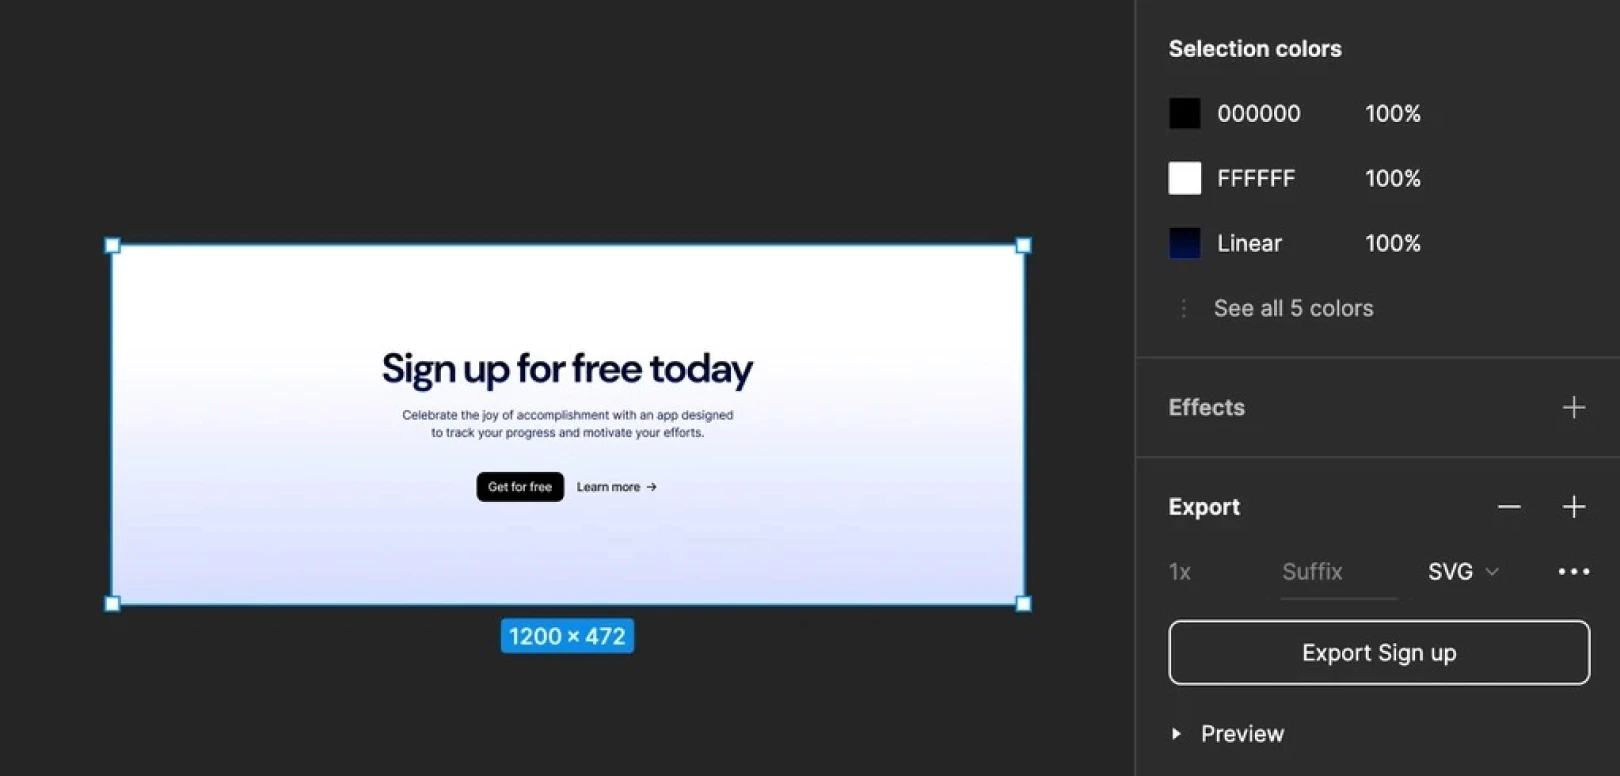
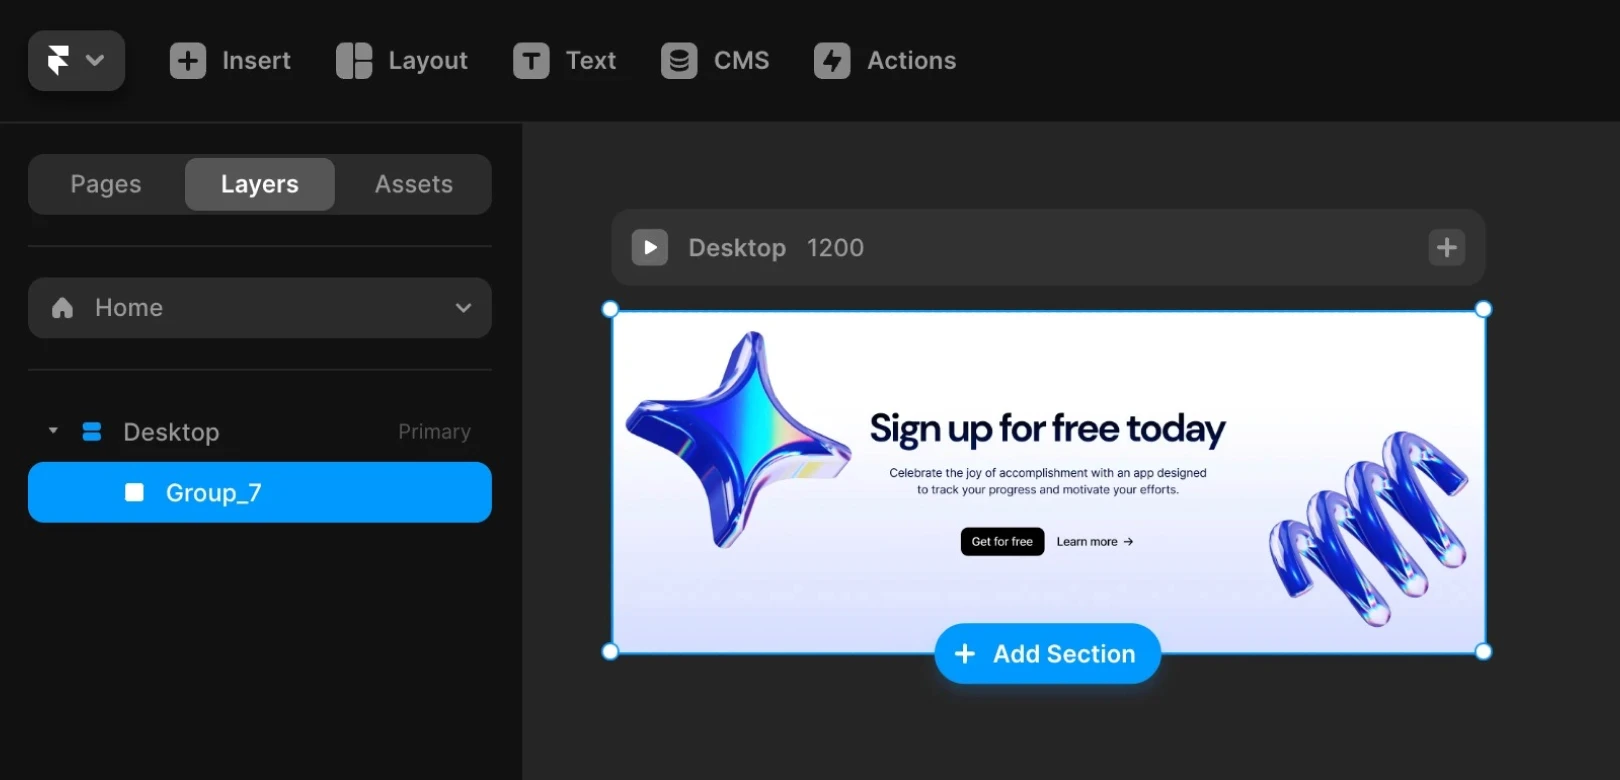
Finally, export the entire graphic as SVG. The file size will be significantly reduced, and it's more likely to upload to Framer without issues.
Method B: Export SVG and Image (JPG/PNG) Separately
Most errors will be resolved with Method A, but if not, consider Method B. While slightly more involved, this ensures SVG images remain sharp on all screen sizes and can enhance site performance.
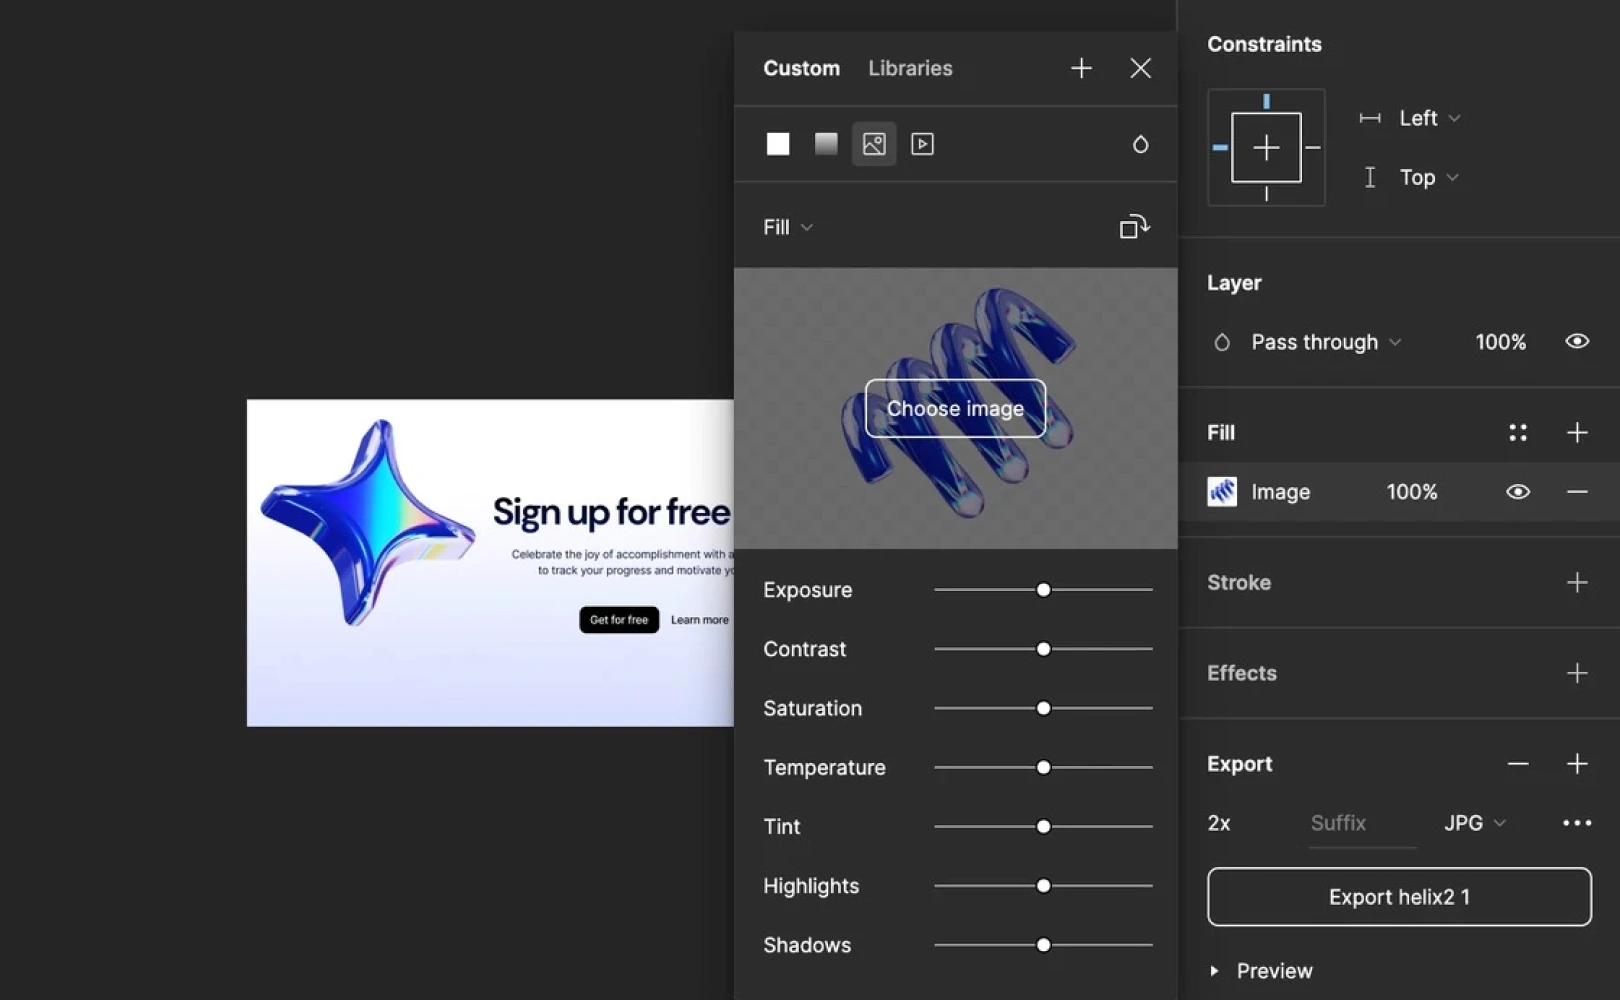
Export the SVG graphic with raster images removed.
Export the removed images separately as JPG or PNG.
Note: You don't need to manually adjust or optimize image sizes; Framer will automatically resize them for you.
Upload the SVG graphic and PNG images to Framer and place them in the same positions as in the original file.
Method C: Export Entire Image as PNG
Choosing this option may result in less sharp images, and the final output might end up larger than with options A or B.
Export the entire graphic as a PNG.
Note: You don't need to manually adjust or optimize image sizes; Framer will automatically resize them for you.
Upload the extracted PNG file to Framer.
Conclusion
With these three methods, you can easily resolve the “SVGs with large images inside are not supported” error. We hope you familiarize yourself with this guide so you can address this error smoothly in the future.
This article is an adapted translation of the Framer official blog post ‘Understanding and fixing the “SVGs with large images inside are not supported” error’.
More posts
Read More Blog

Problem / Issue
Dec 26, 2025
Increase your workflow speed in Framer using keyboard shortcuts

Problem / Issue
Dec 26, 2025
Understanding Framer's Reduced Motion Settings

Problem / Issue
Dec 26, 2025
Utilize text styles and semantic tags on your website

Problem / Issue
Dec 26, 2025