Read Time
min
Performance
SEO
Sep 5, 2025
How to Integrate Framer into an Existing Website
We introduce how to integrate Framer with existing websites, providing optimal settings for user needs through both multi-domain and single-domain approaches. Complex sites require advanced configurations using micro frontends.


Contents
Table of Contents
This article explains how to integrate Framer with an existing website using a multi-domain or single domain approach.
Multi-Domain
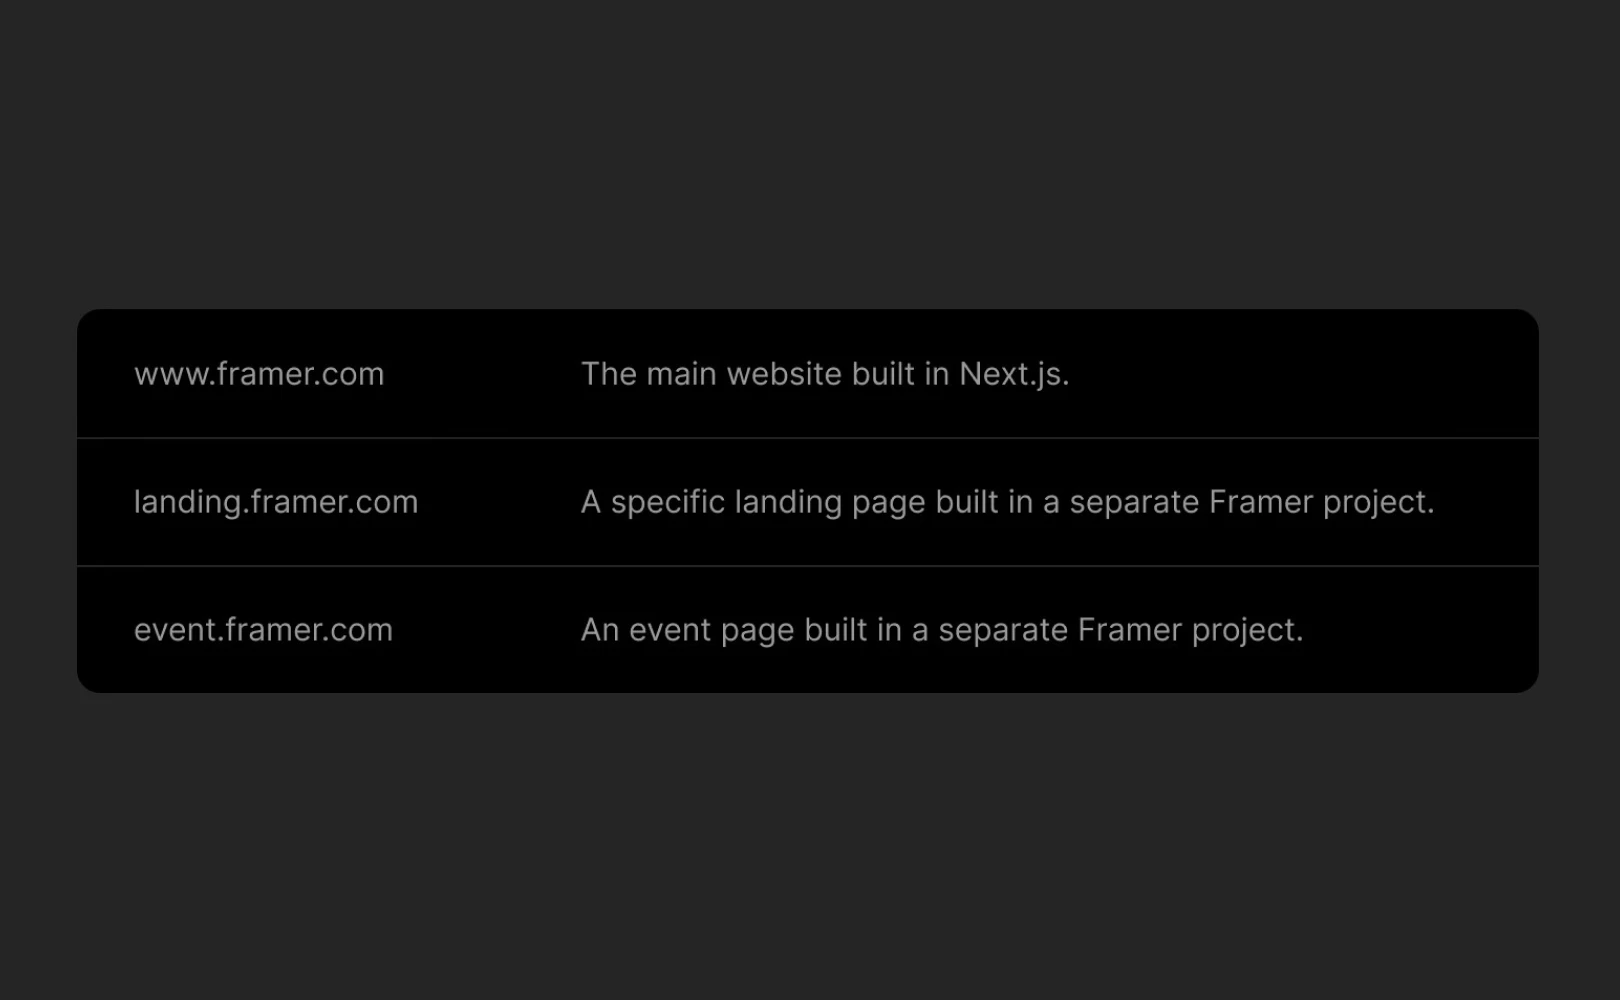
The simplest way to integrate Framer with an existing site is to use multiple subdomains, as shown in the example below.Main site: example.comFramer site: subdomain.example.com
Setup Method
Set up a subdomain in your Framer project.
Update the DNS server so that the subdomain points to the Framer site.
Note: You can learn more in the custom domain setup guide.
Single Domain (Advanced Setup)
For complex websites, an advanced setup called “micro frontends” allows you to host multiple independent sites under a single domain. Here's an example:Main site: example.comFramer section: example.com/framer-page
What are micro frontends? This approach involves managing a large website as multiple small independent applications. Each part can be developed and deployed independently, offering high flexibility and is useful for integrating Framer sites into specific paths within the existing domain.
Requirements: For a single domain setup, you need to use an Enterprise plan and a proxy hosting provider that supports Rewrite rules (e.g., Vercel, Netlify, Cloudflare).
Setup Method
After selecting a hosting provider that offers reverse proxy functionality, define Rewrite rules mapping the path (/framer-page) to the respective Origin (Framer site).
Example of Rewrite Rules
Each hosting provider has specific documentation on implementing Rewrite rules, so please refer to the provider's documentation for details on this implementation.
If you want to learn more about self-hosting using reverse proxy, it is recommended to check this article, and if any issues arise or additional help is needed, feel free to contact the Framer support team via the contact page.
This article is an adapted translation of ‘How to integrate with your current site’ from the Framer official blog.
More posts


